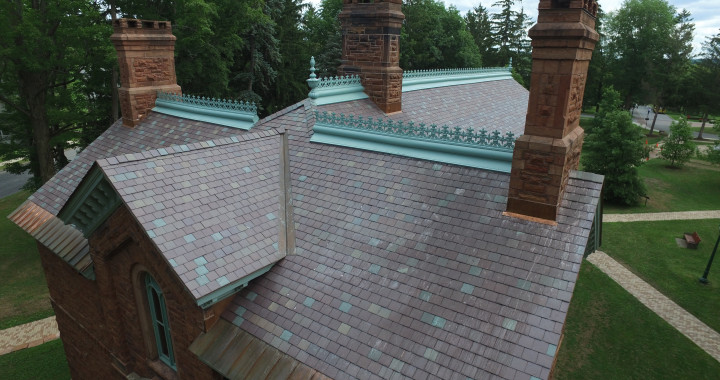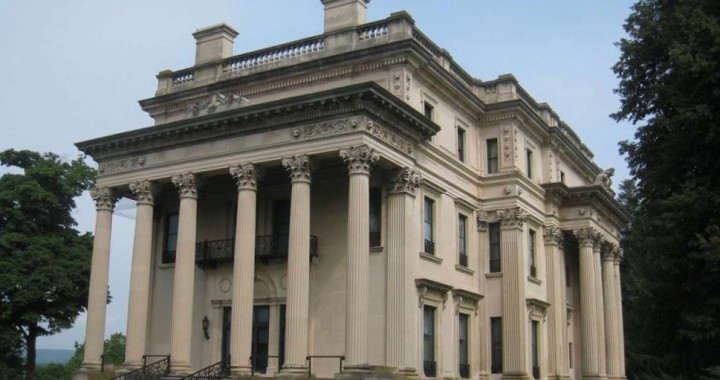
Click photo to see job details
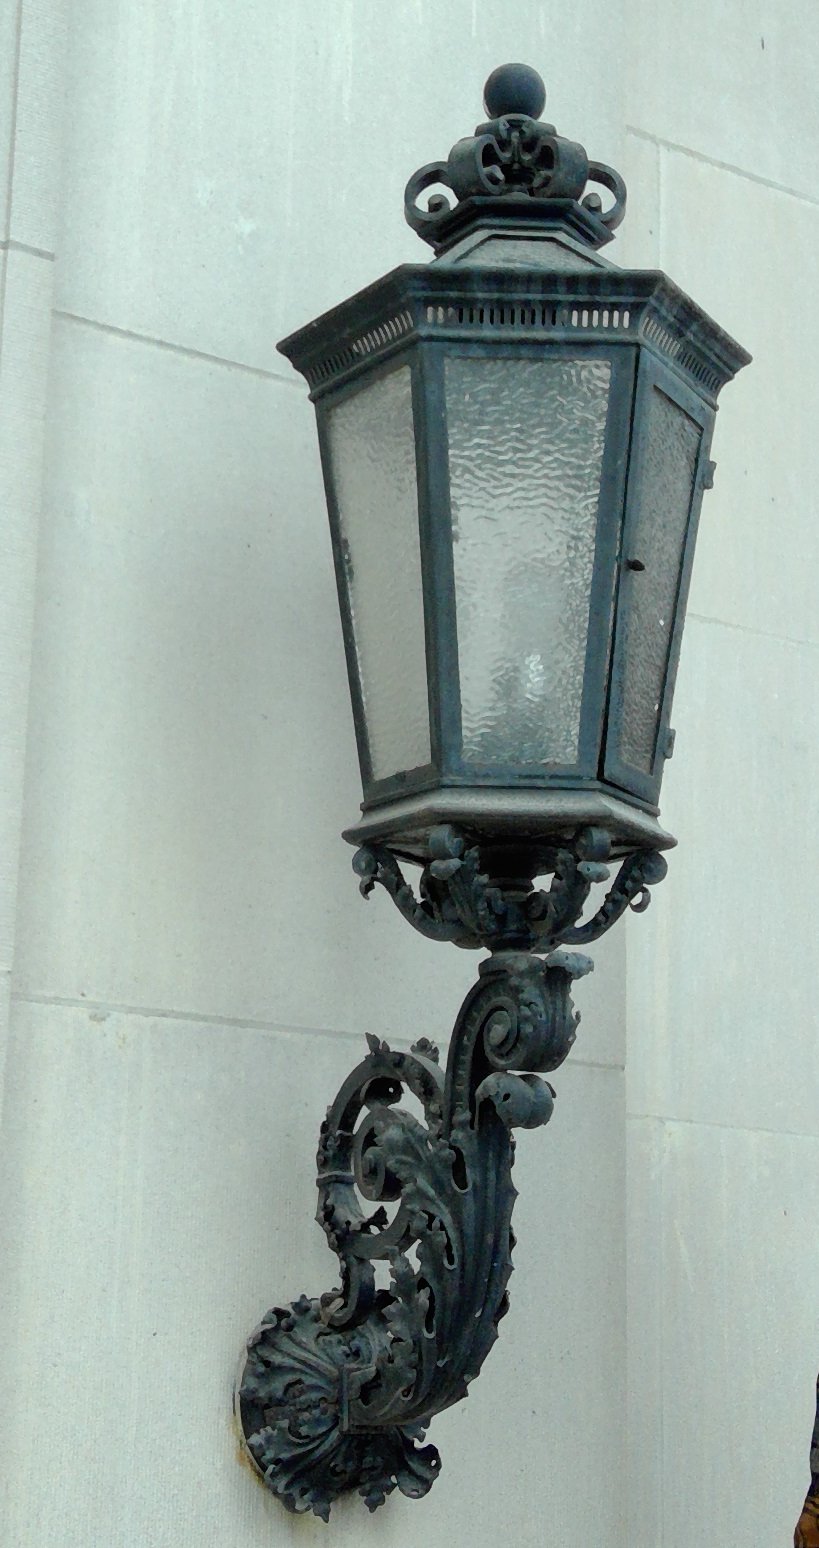
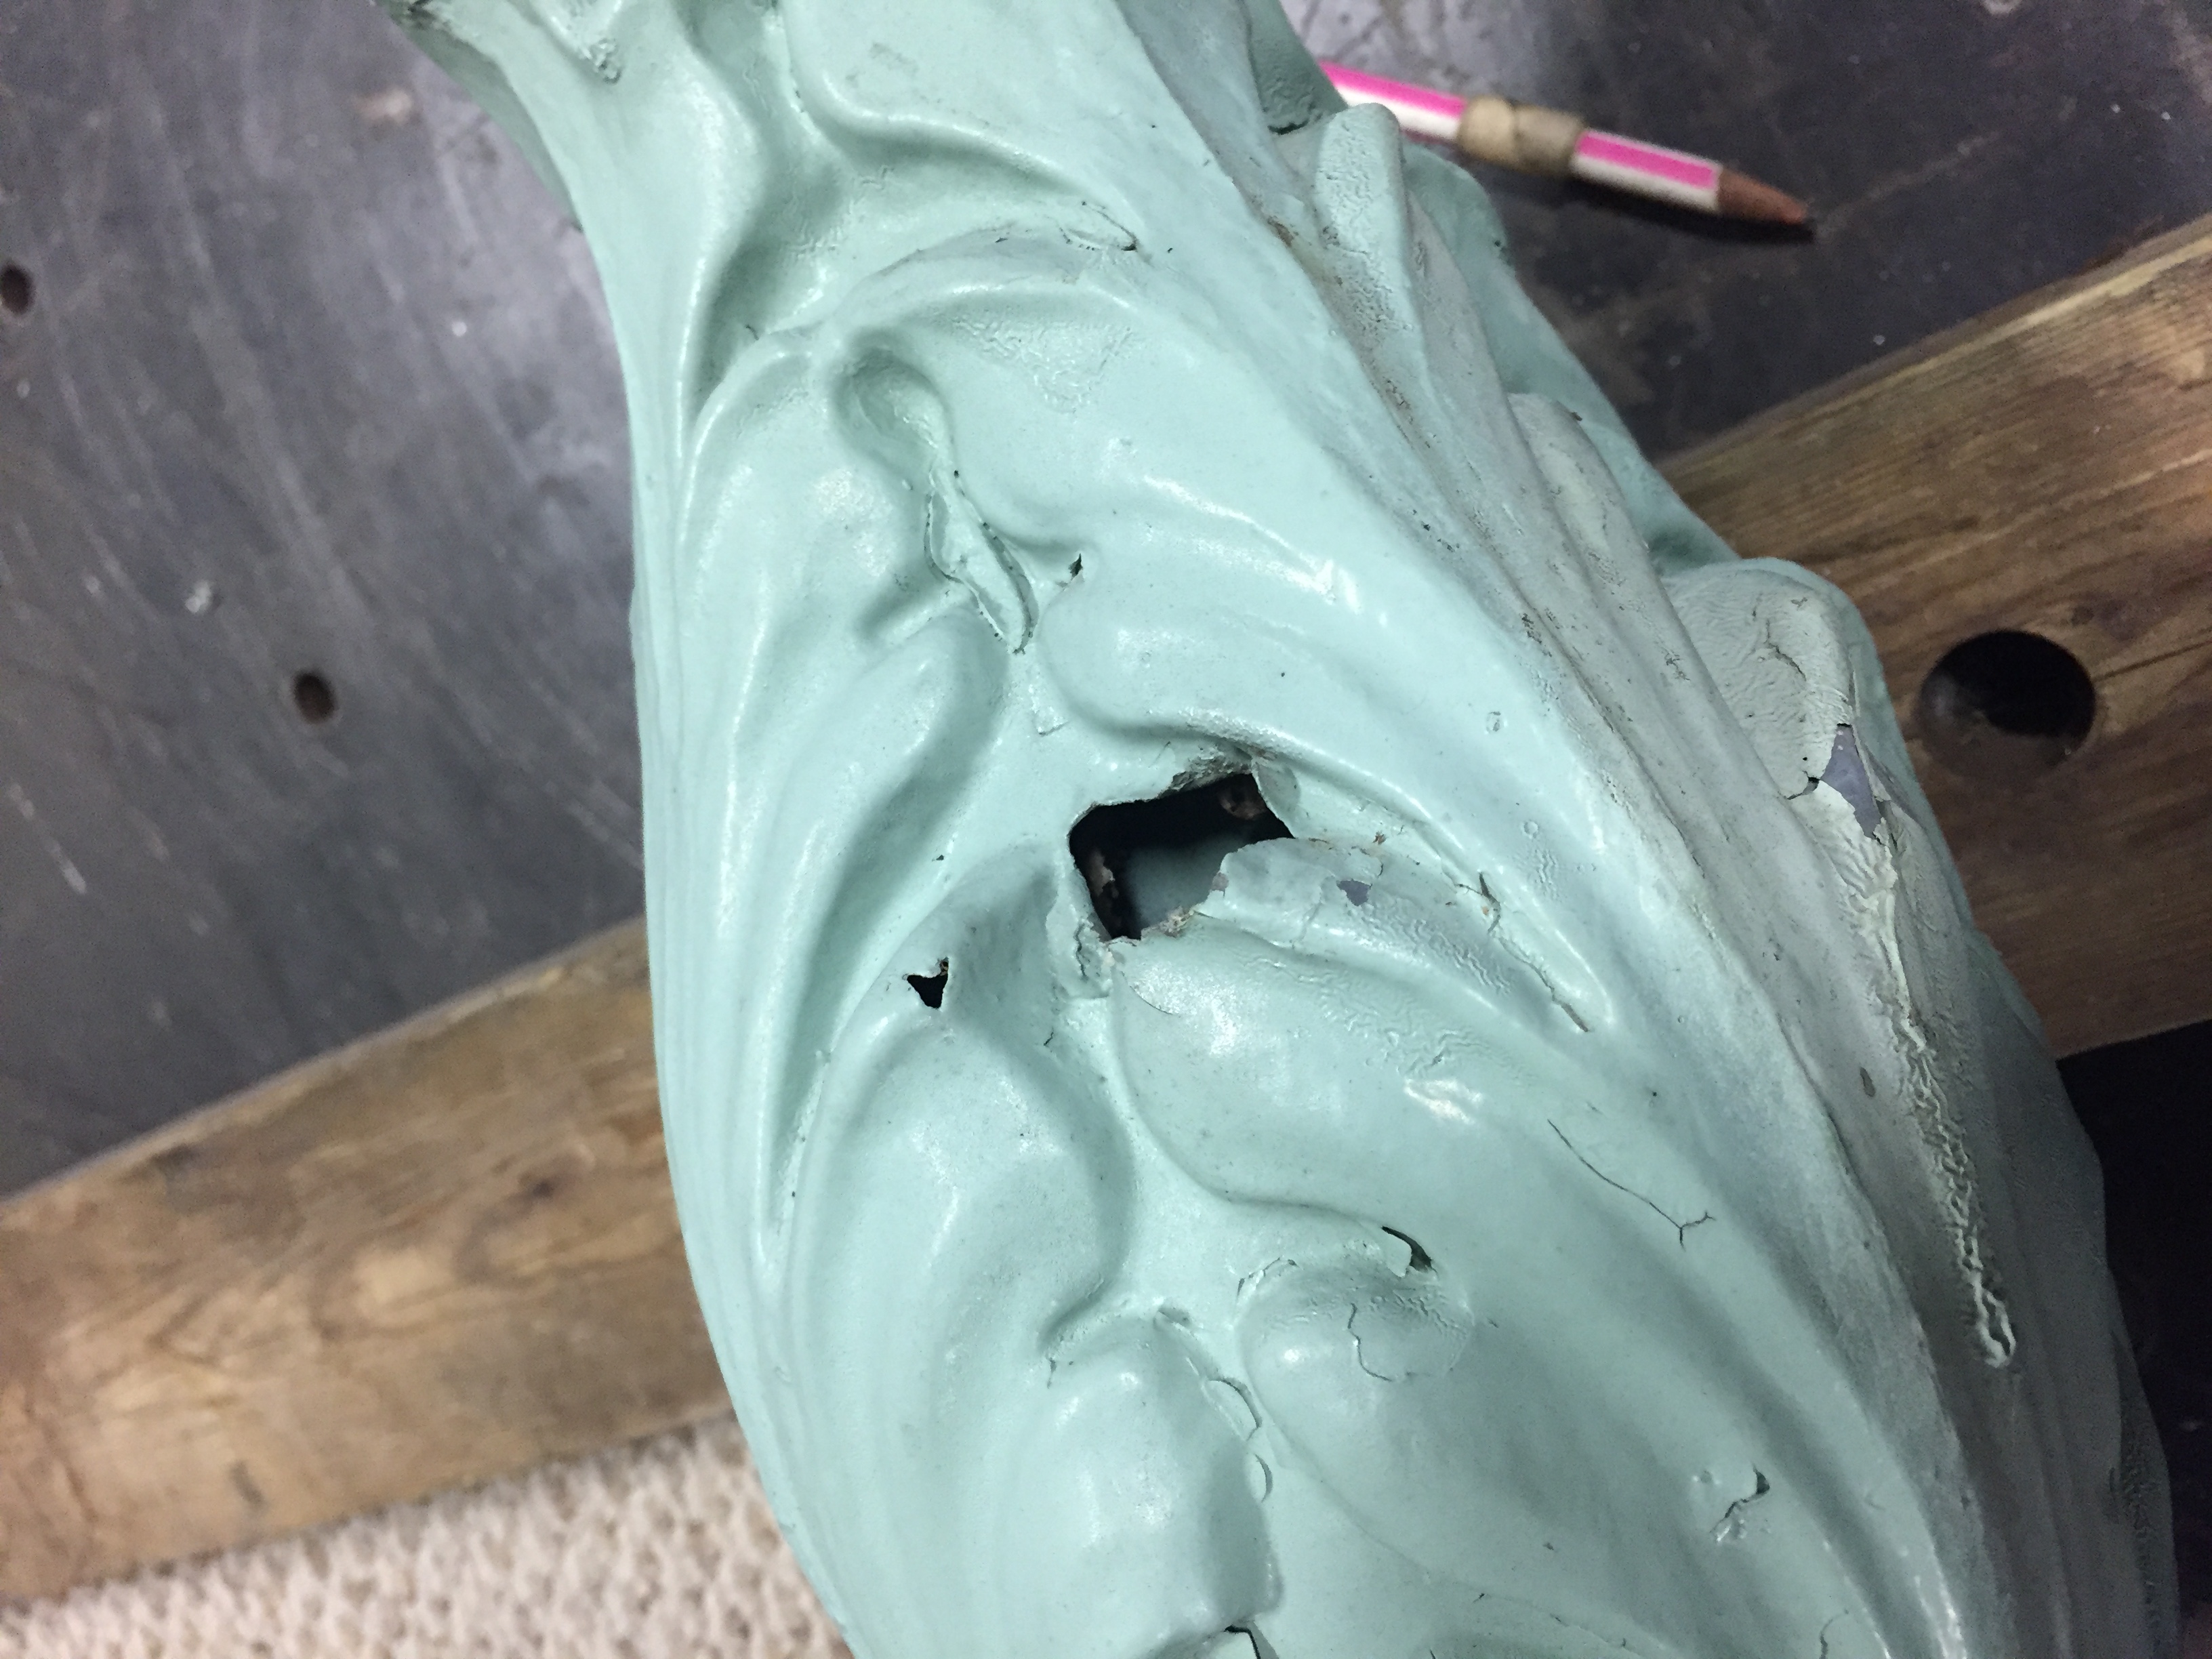
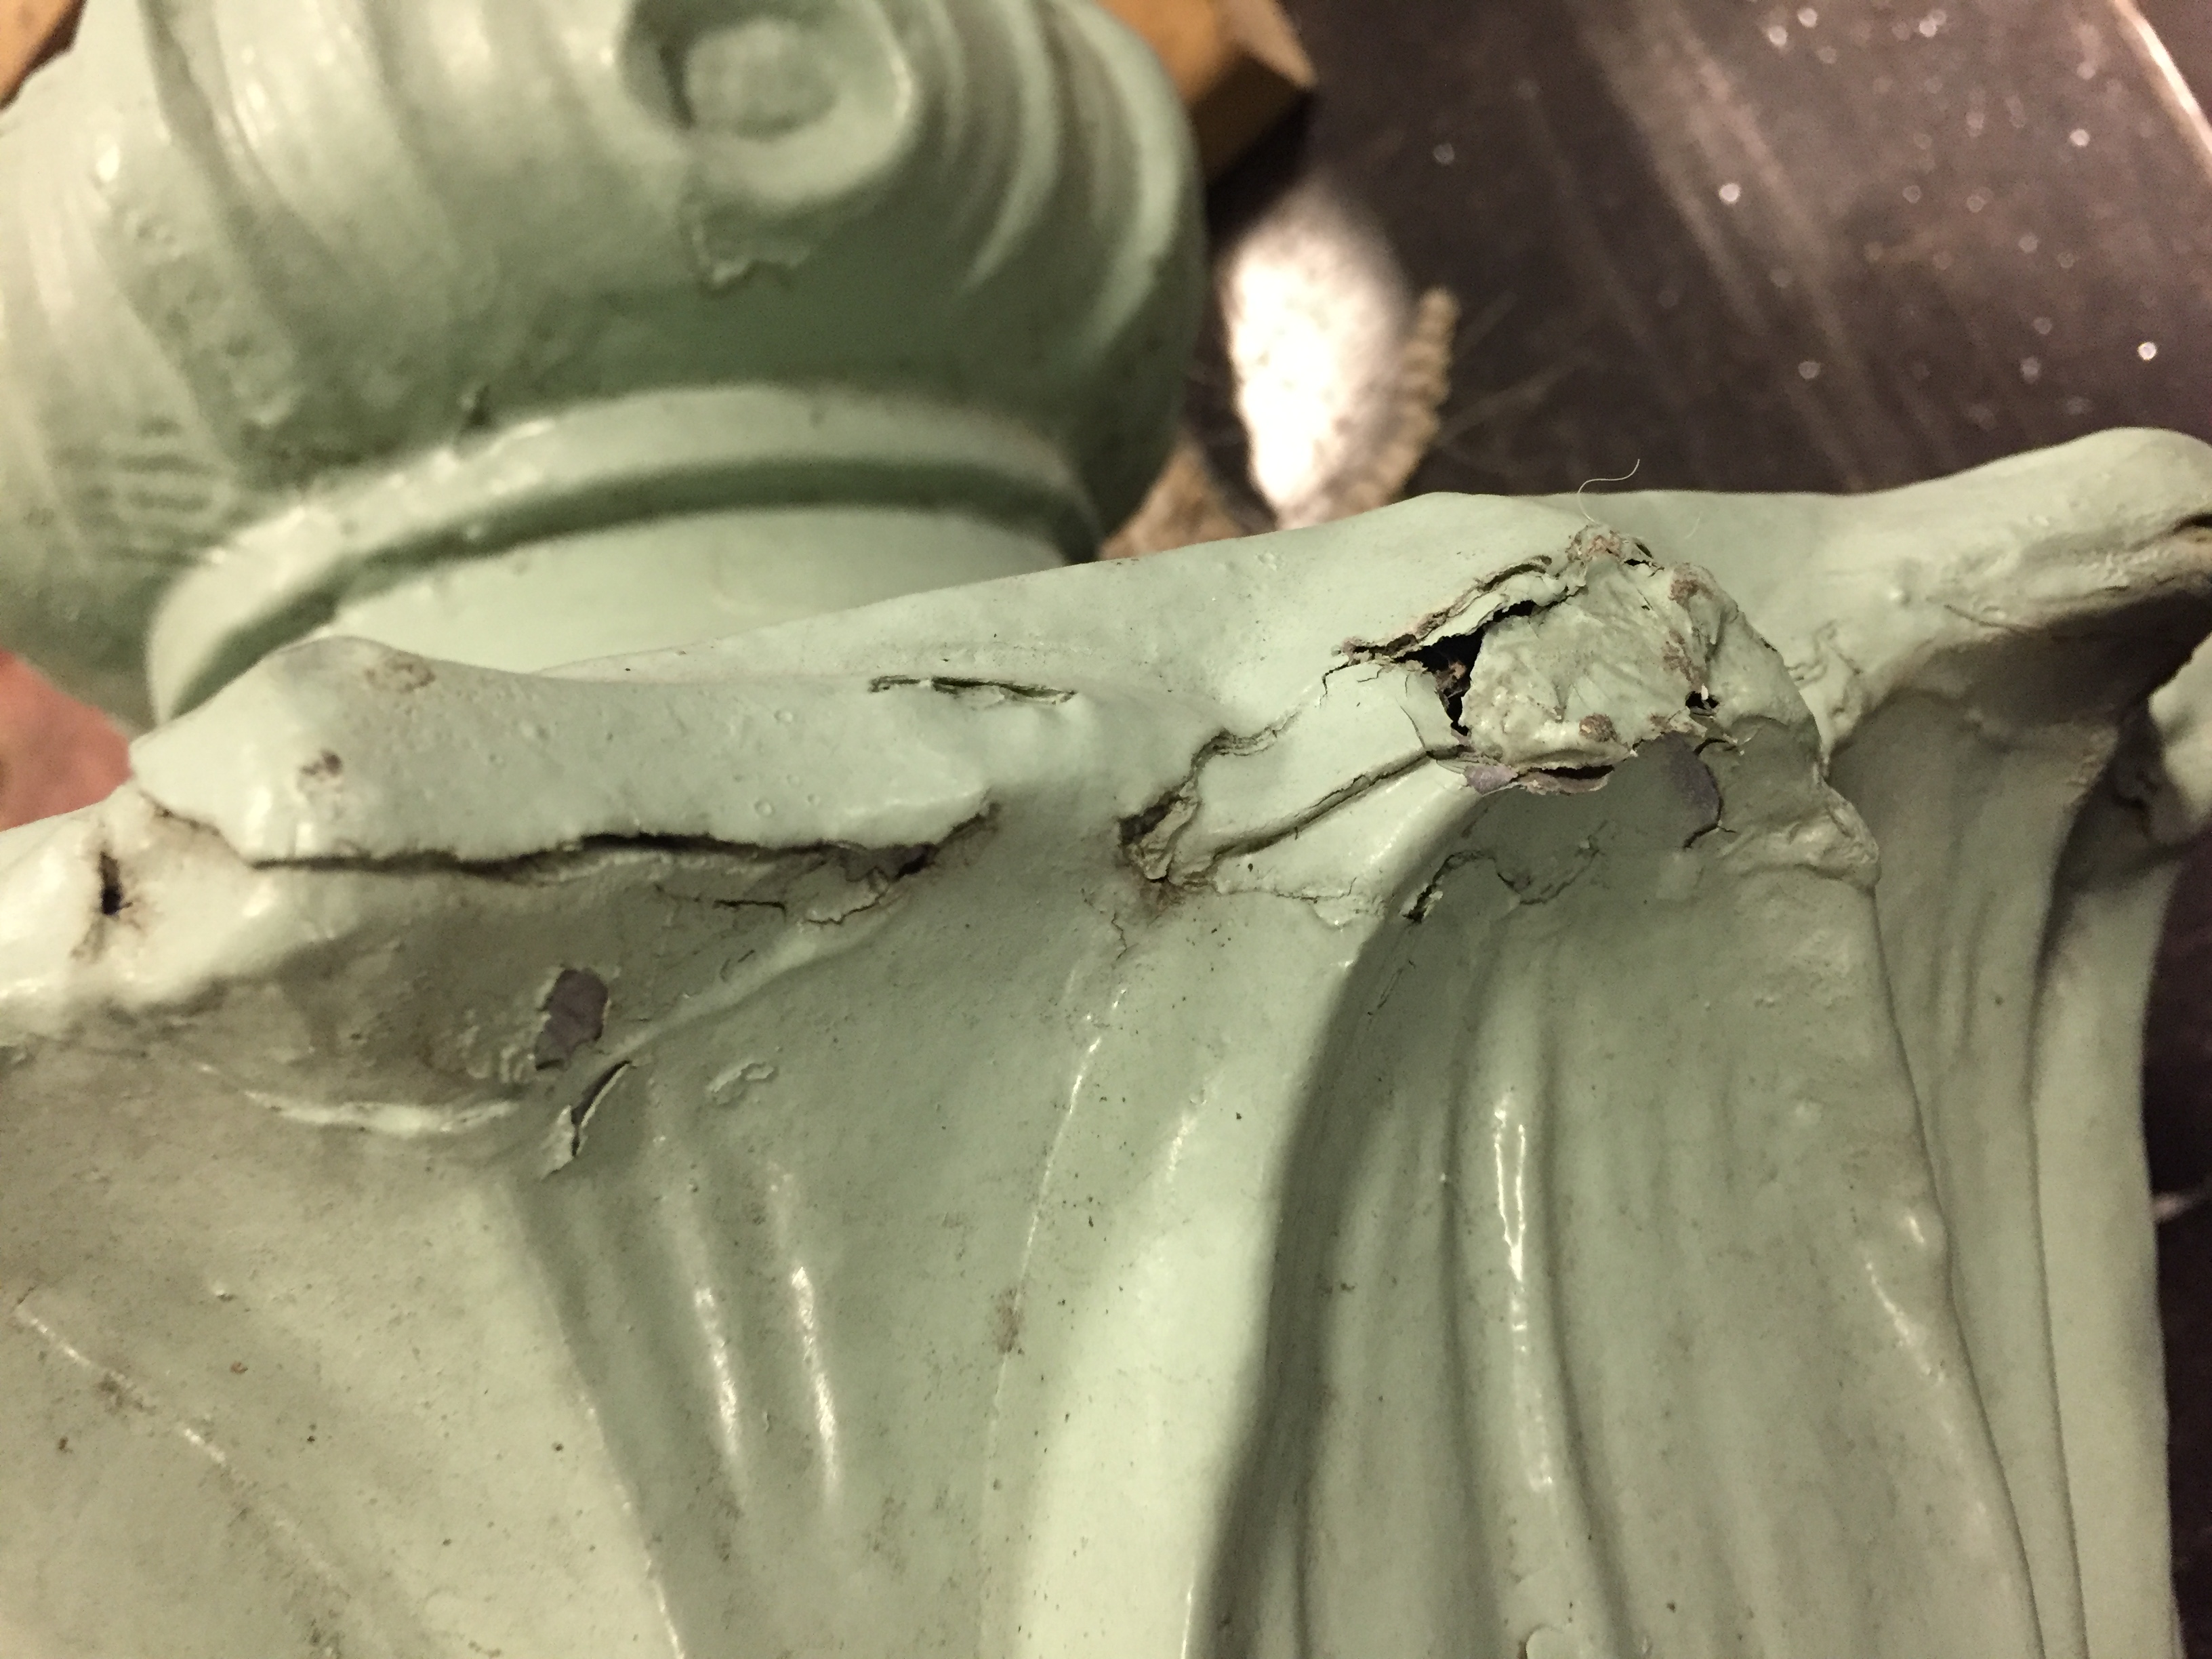
Vanderbilt Mansion was built in 1899. Pictured here is one of its original wall sconces. Keicher Metal Arts restored the four existing originals AND fabricated two new sconces to match the originals.
RESTORATION
of an ORIGINAL
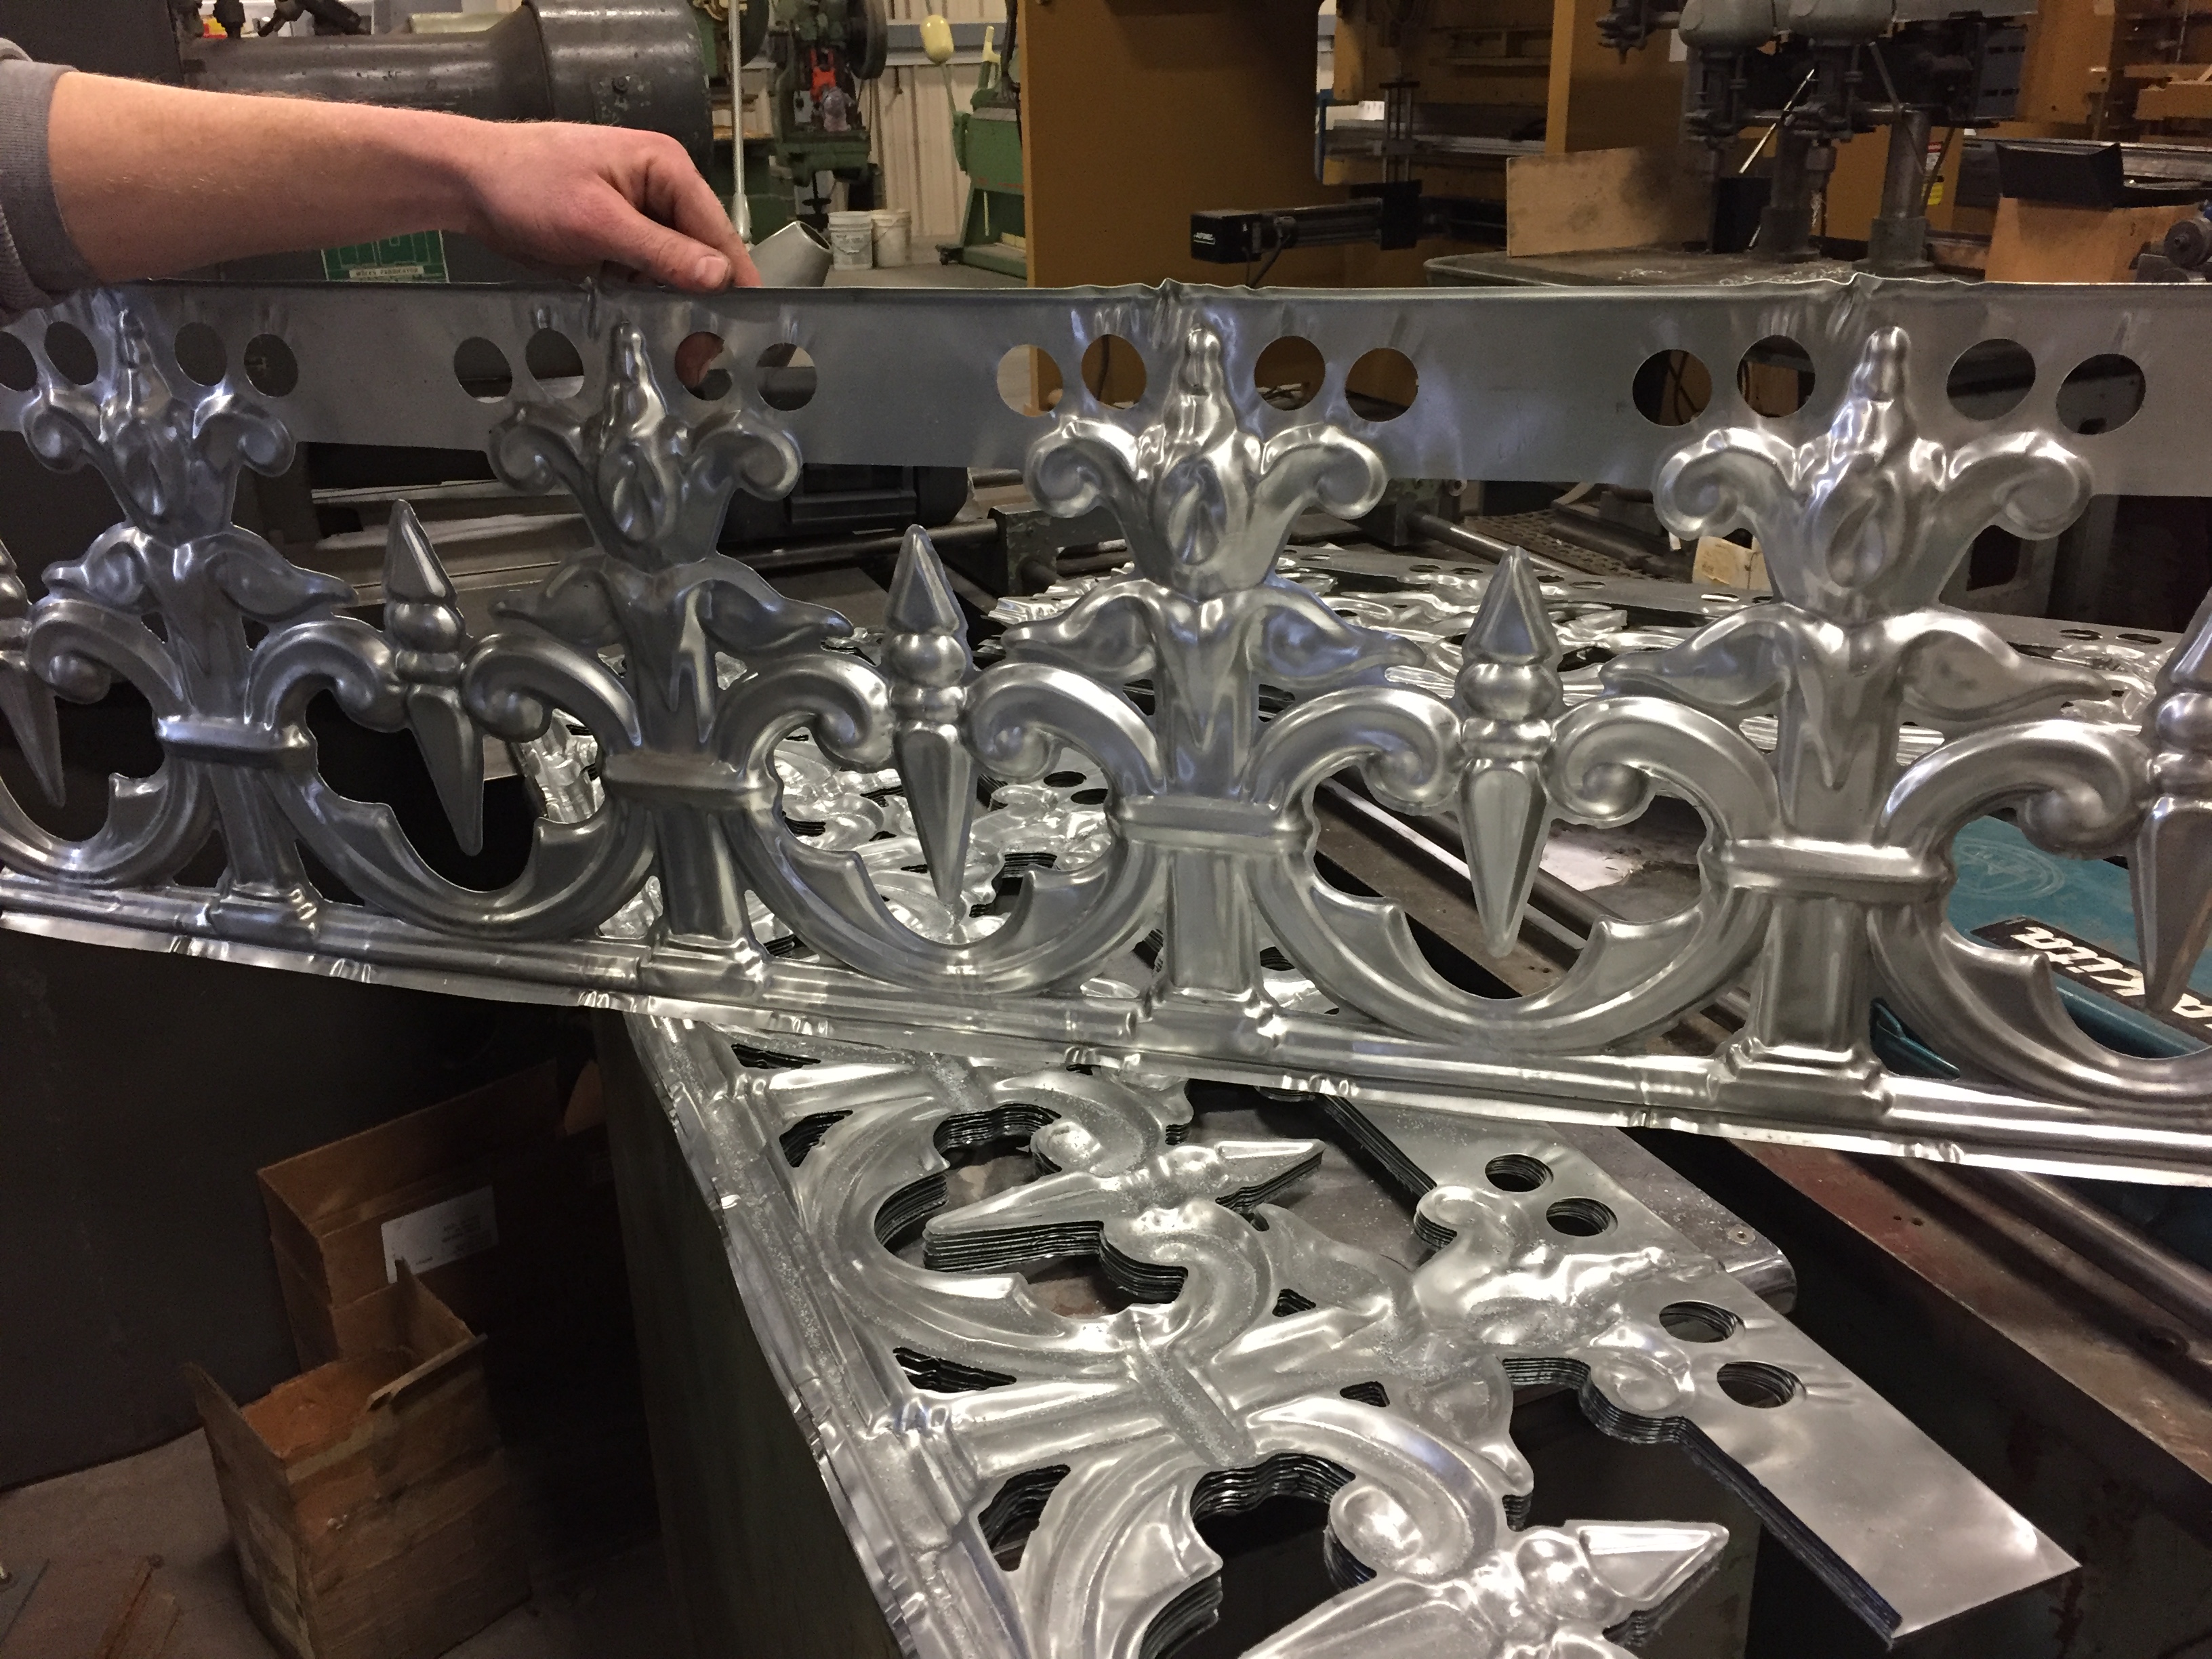
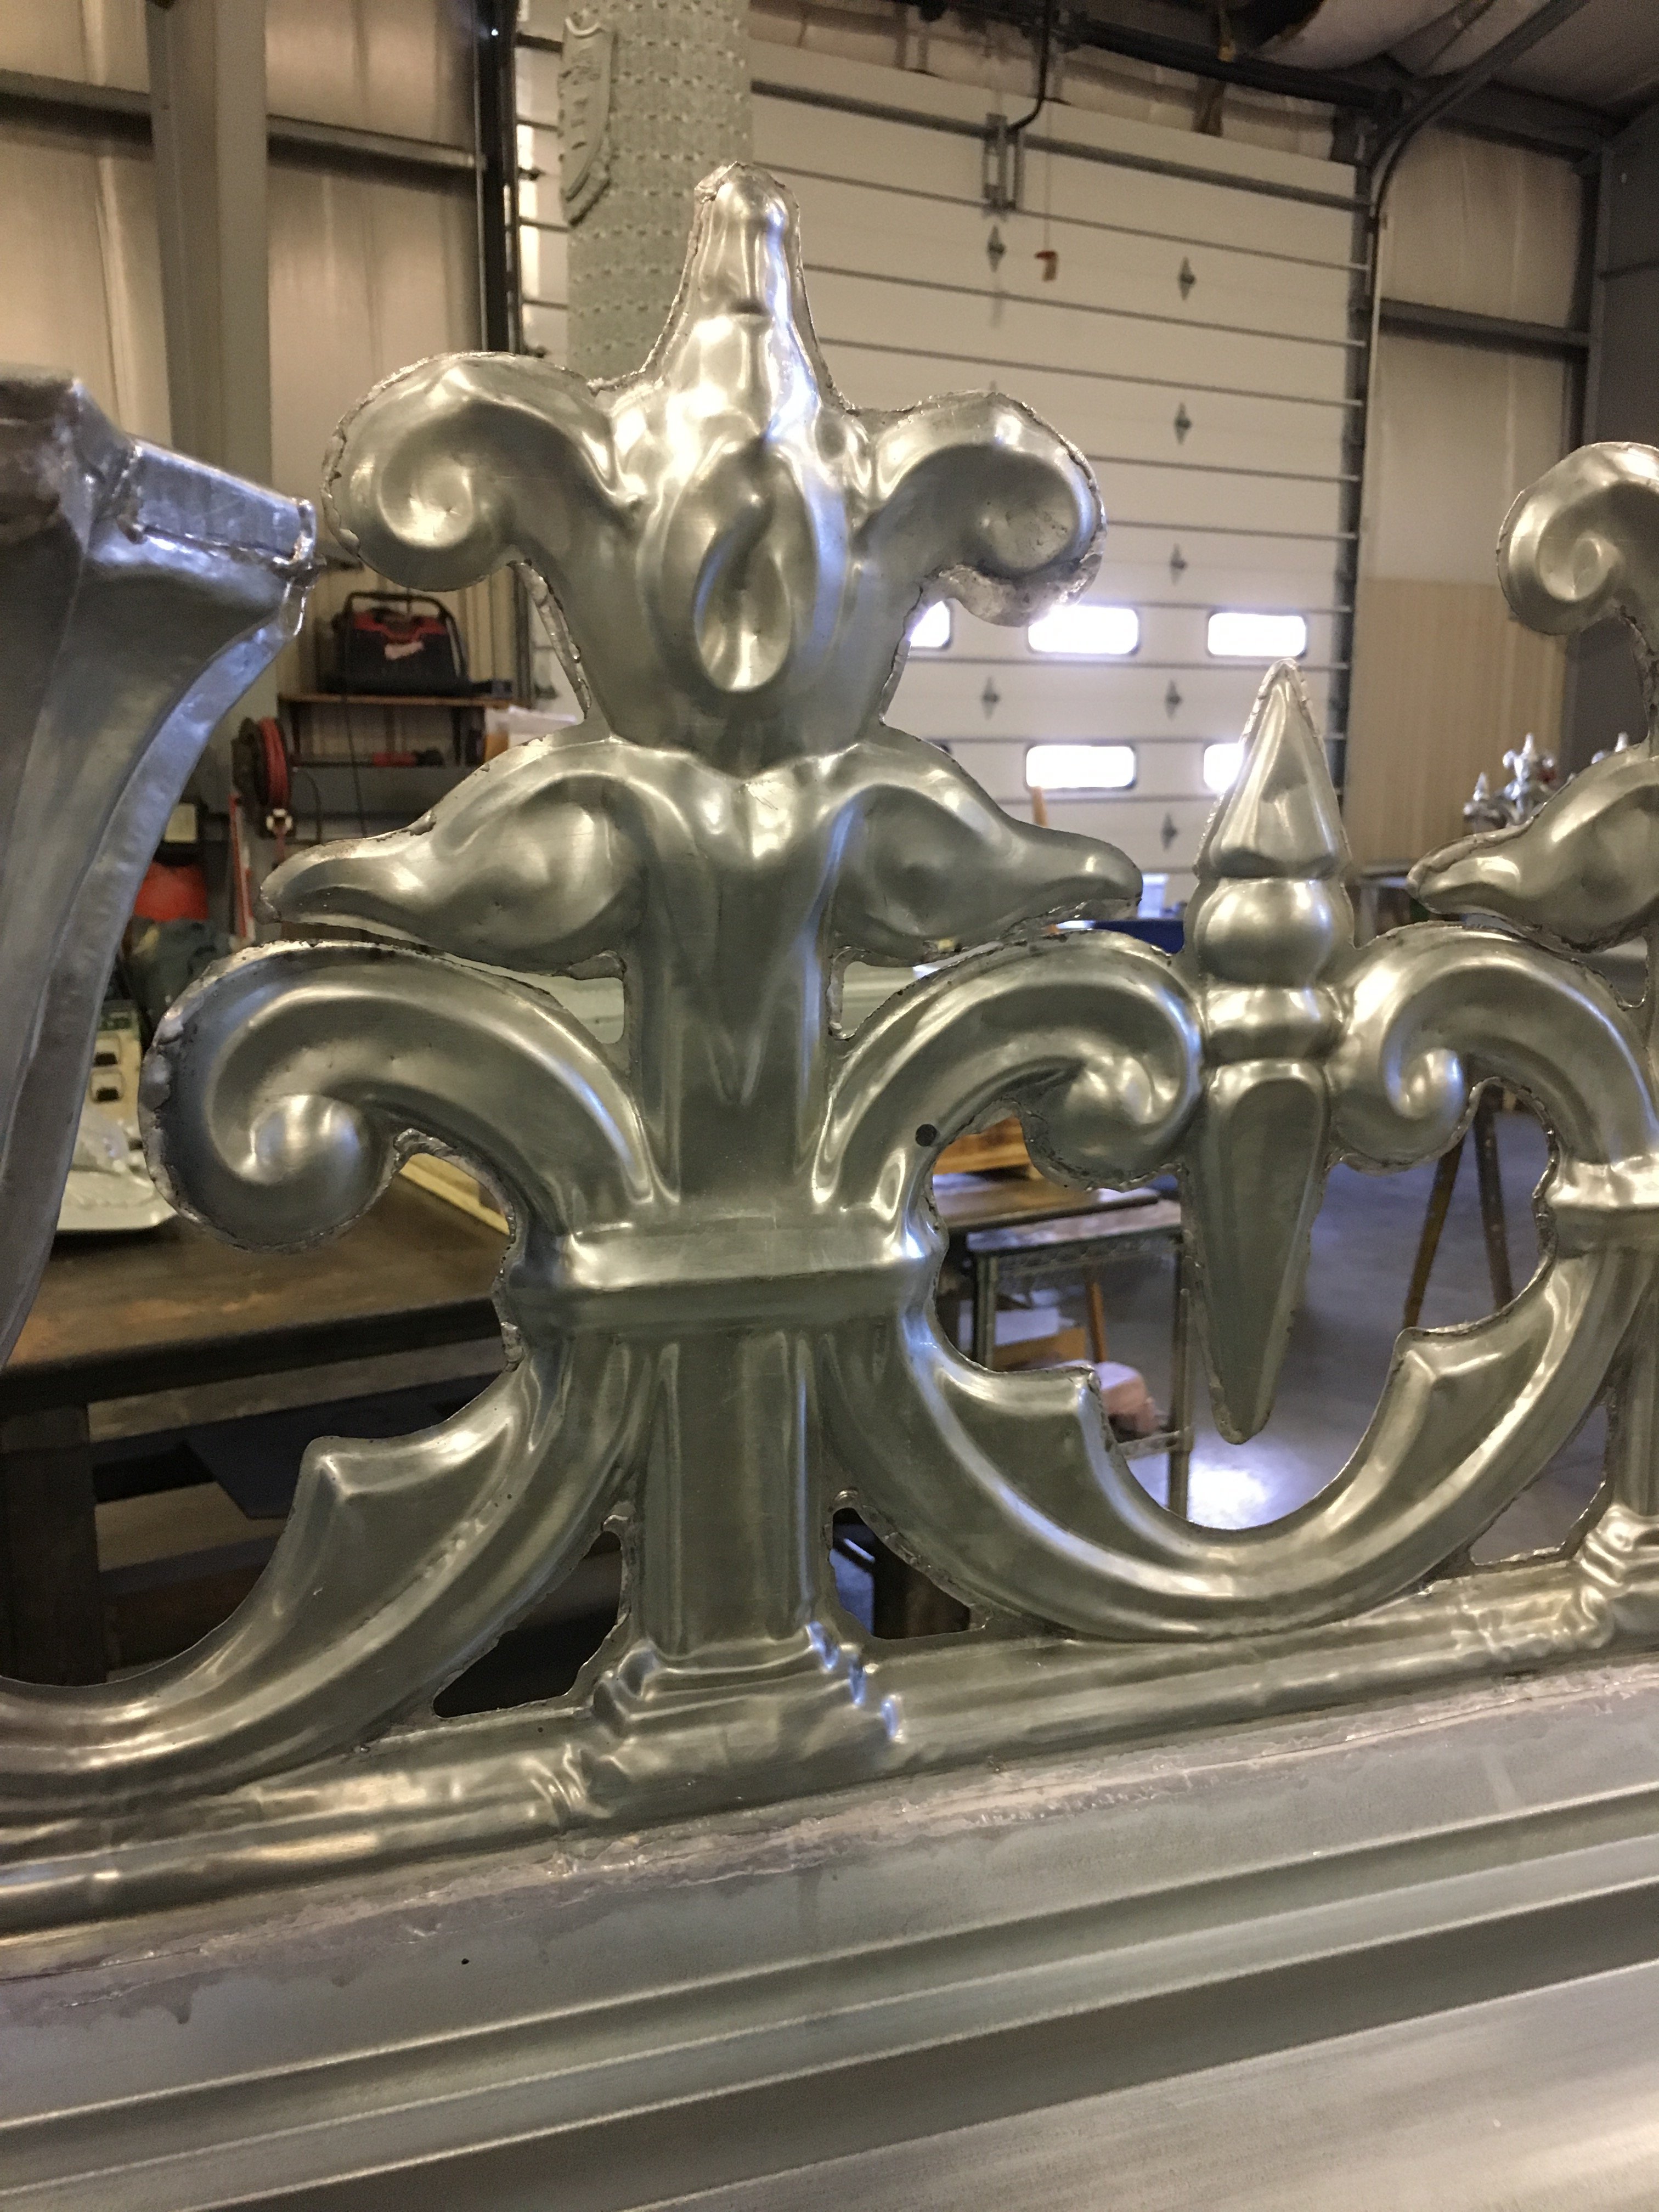
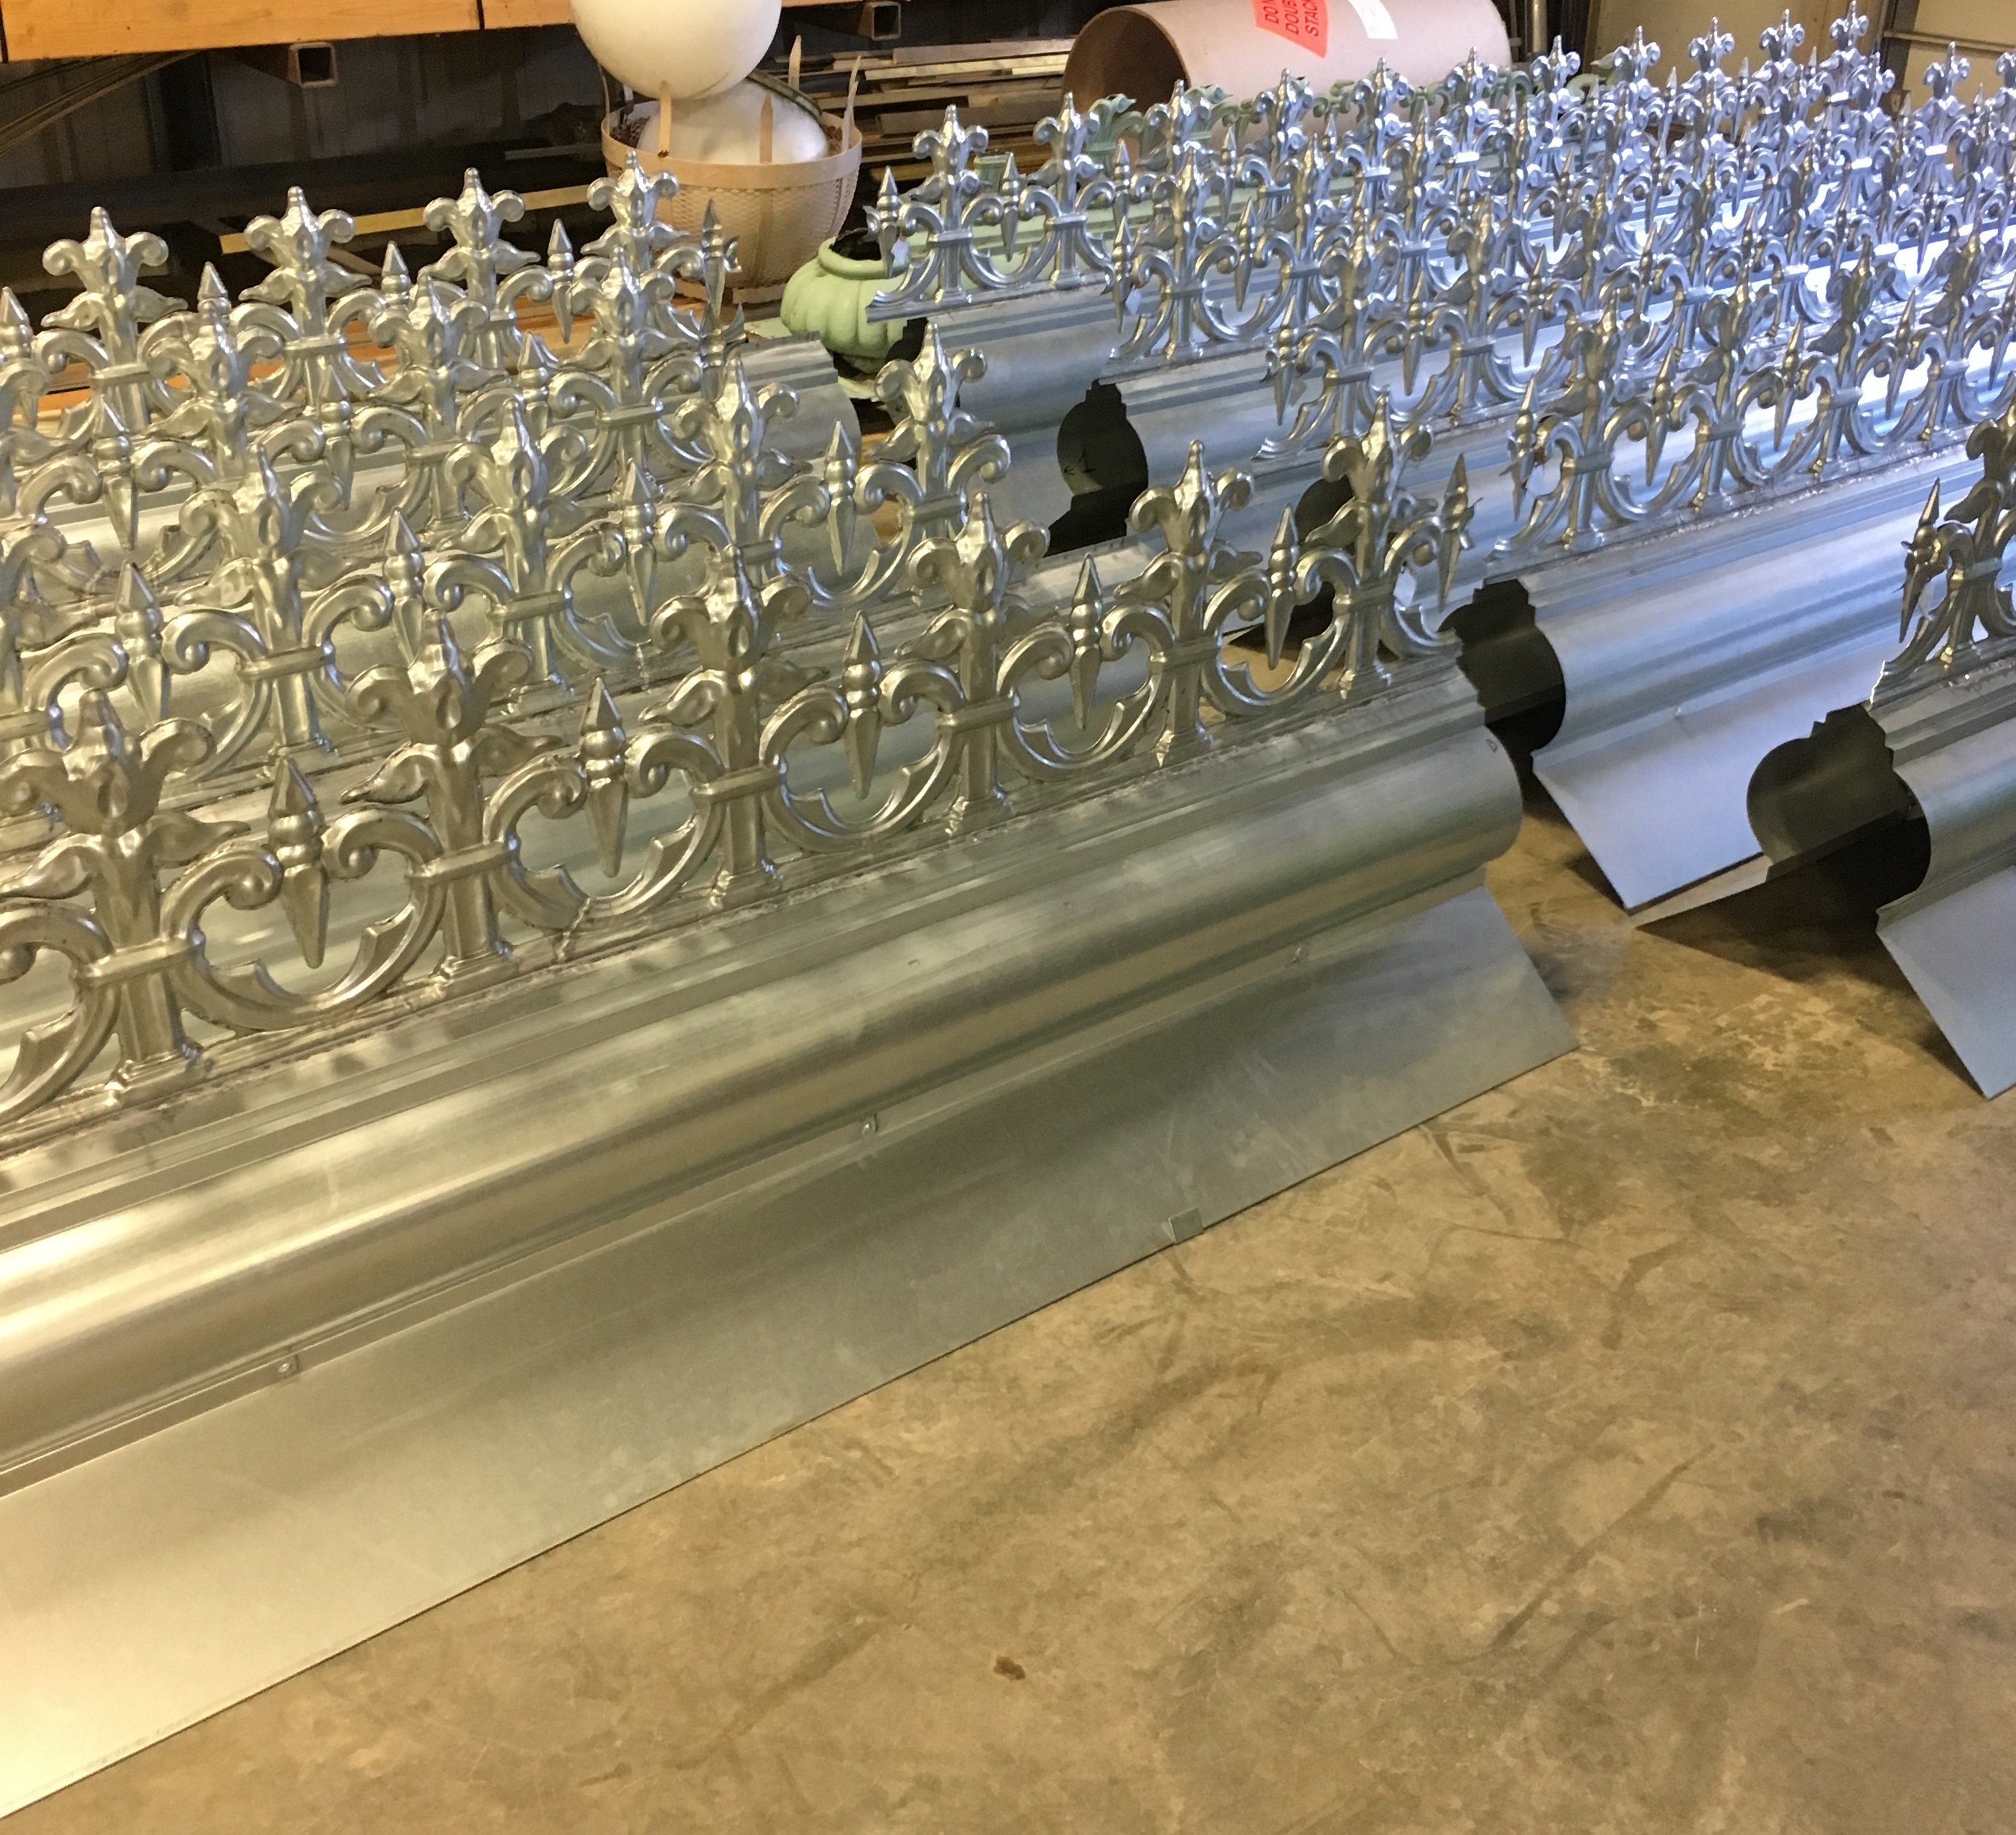
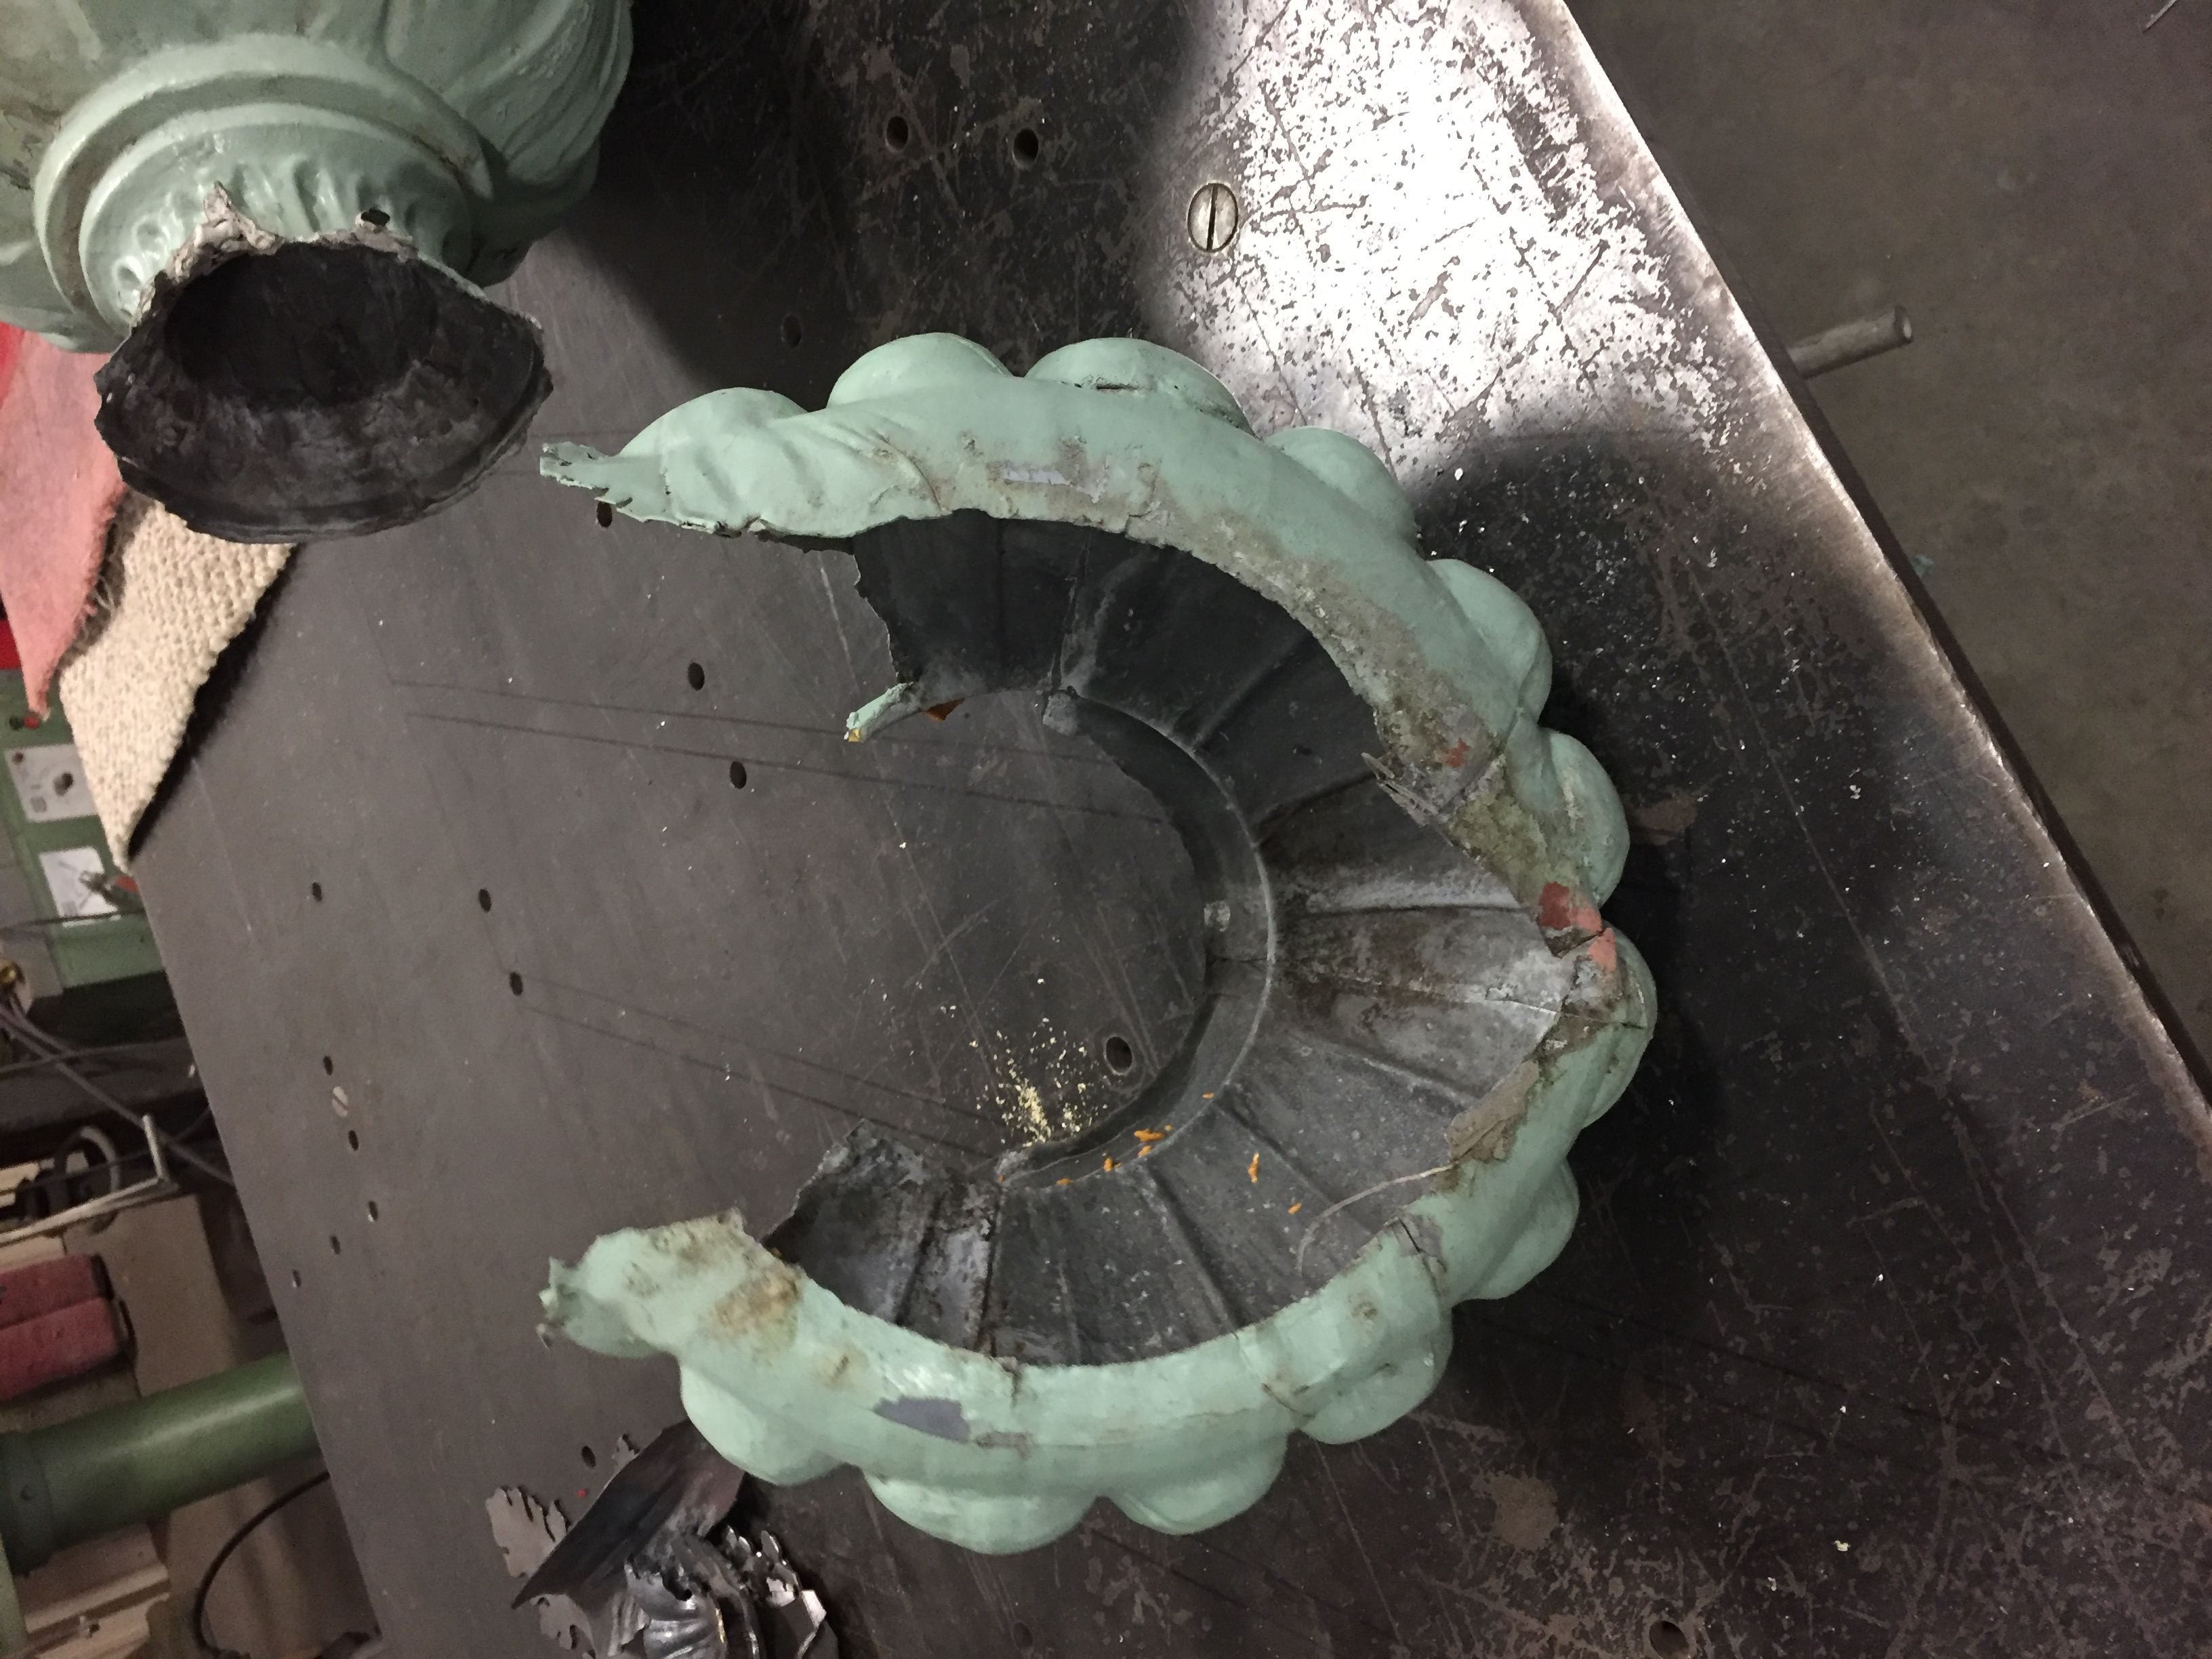
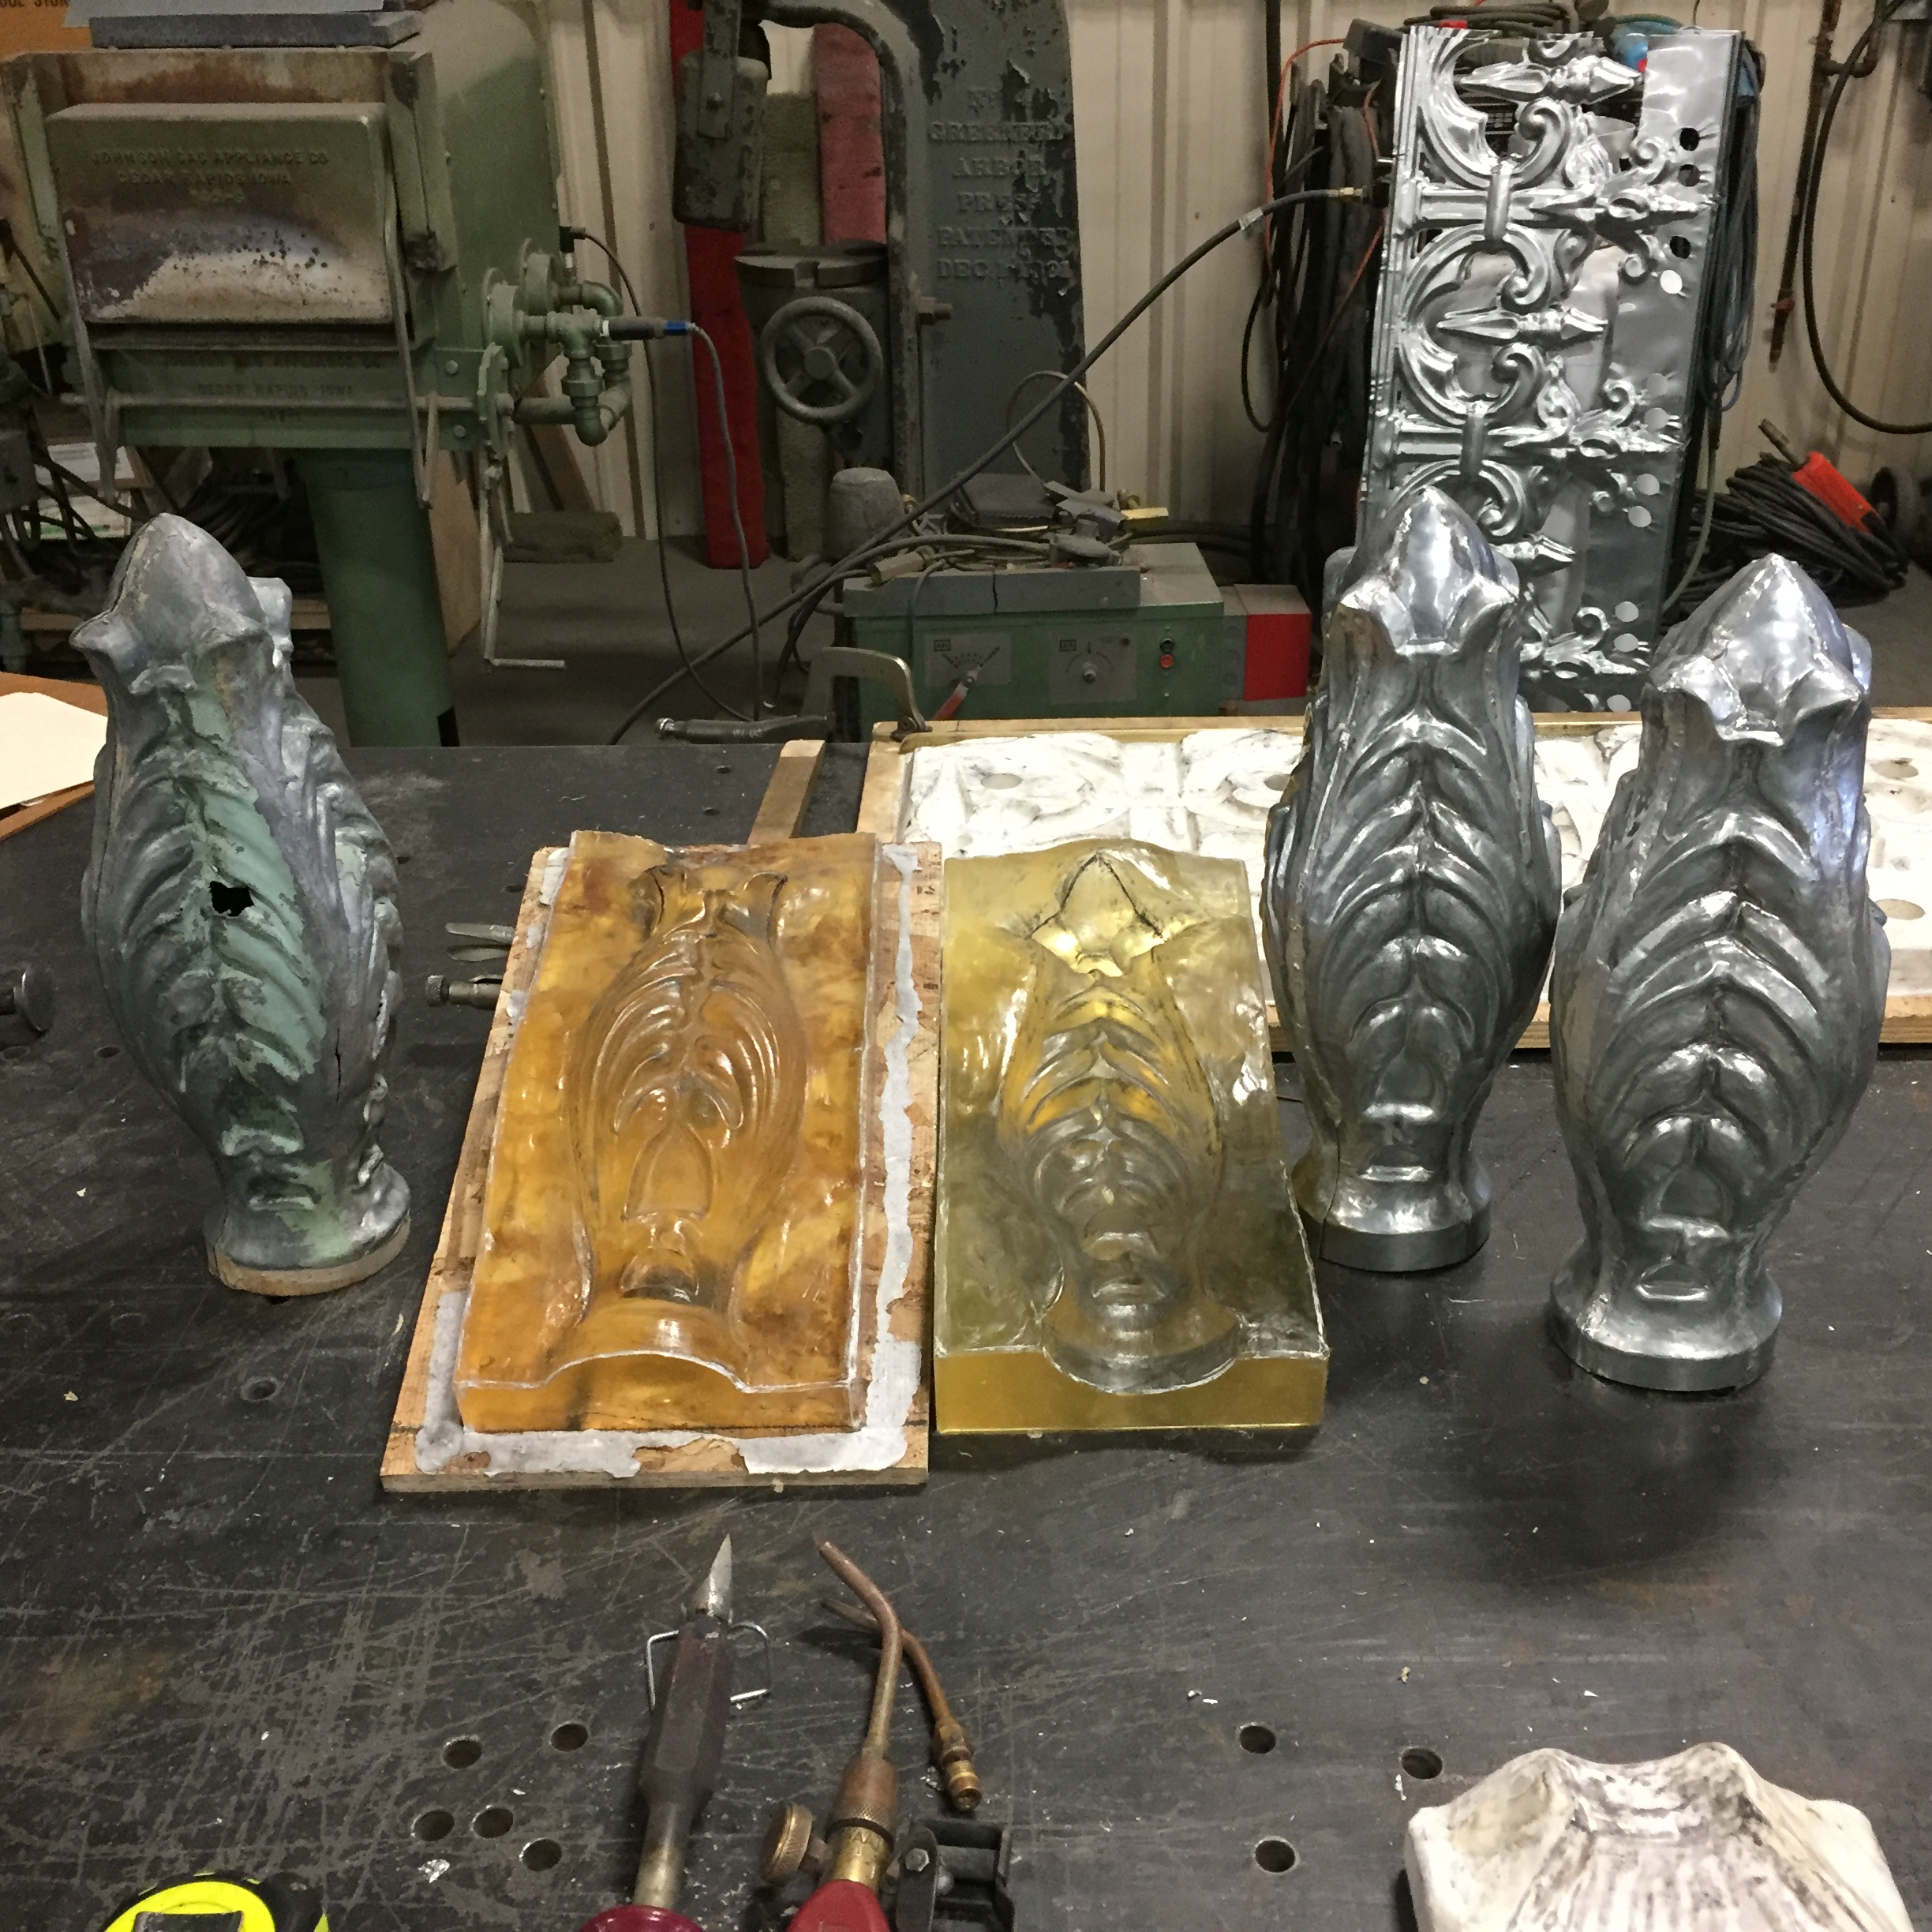
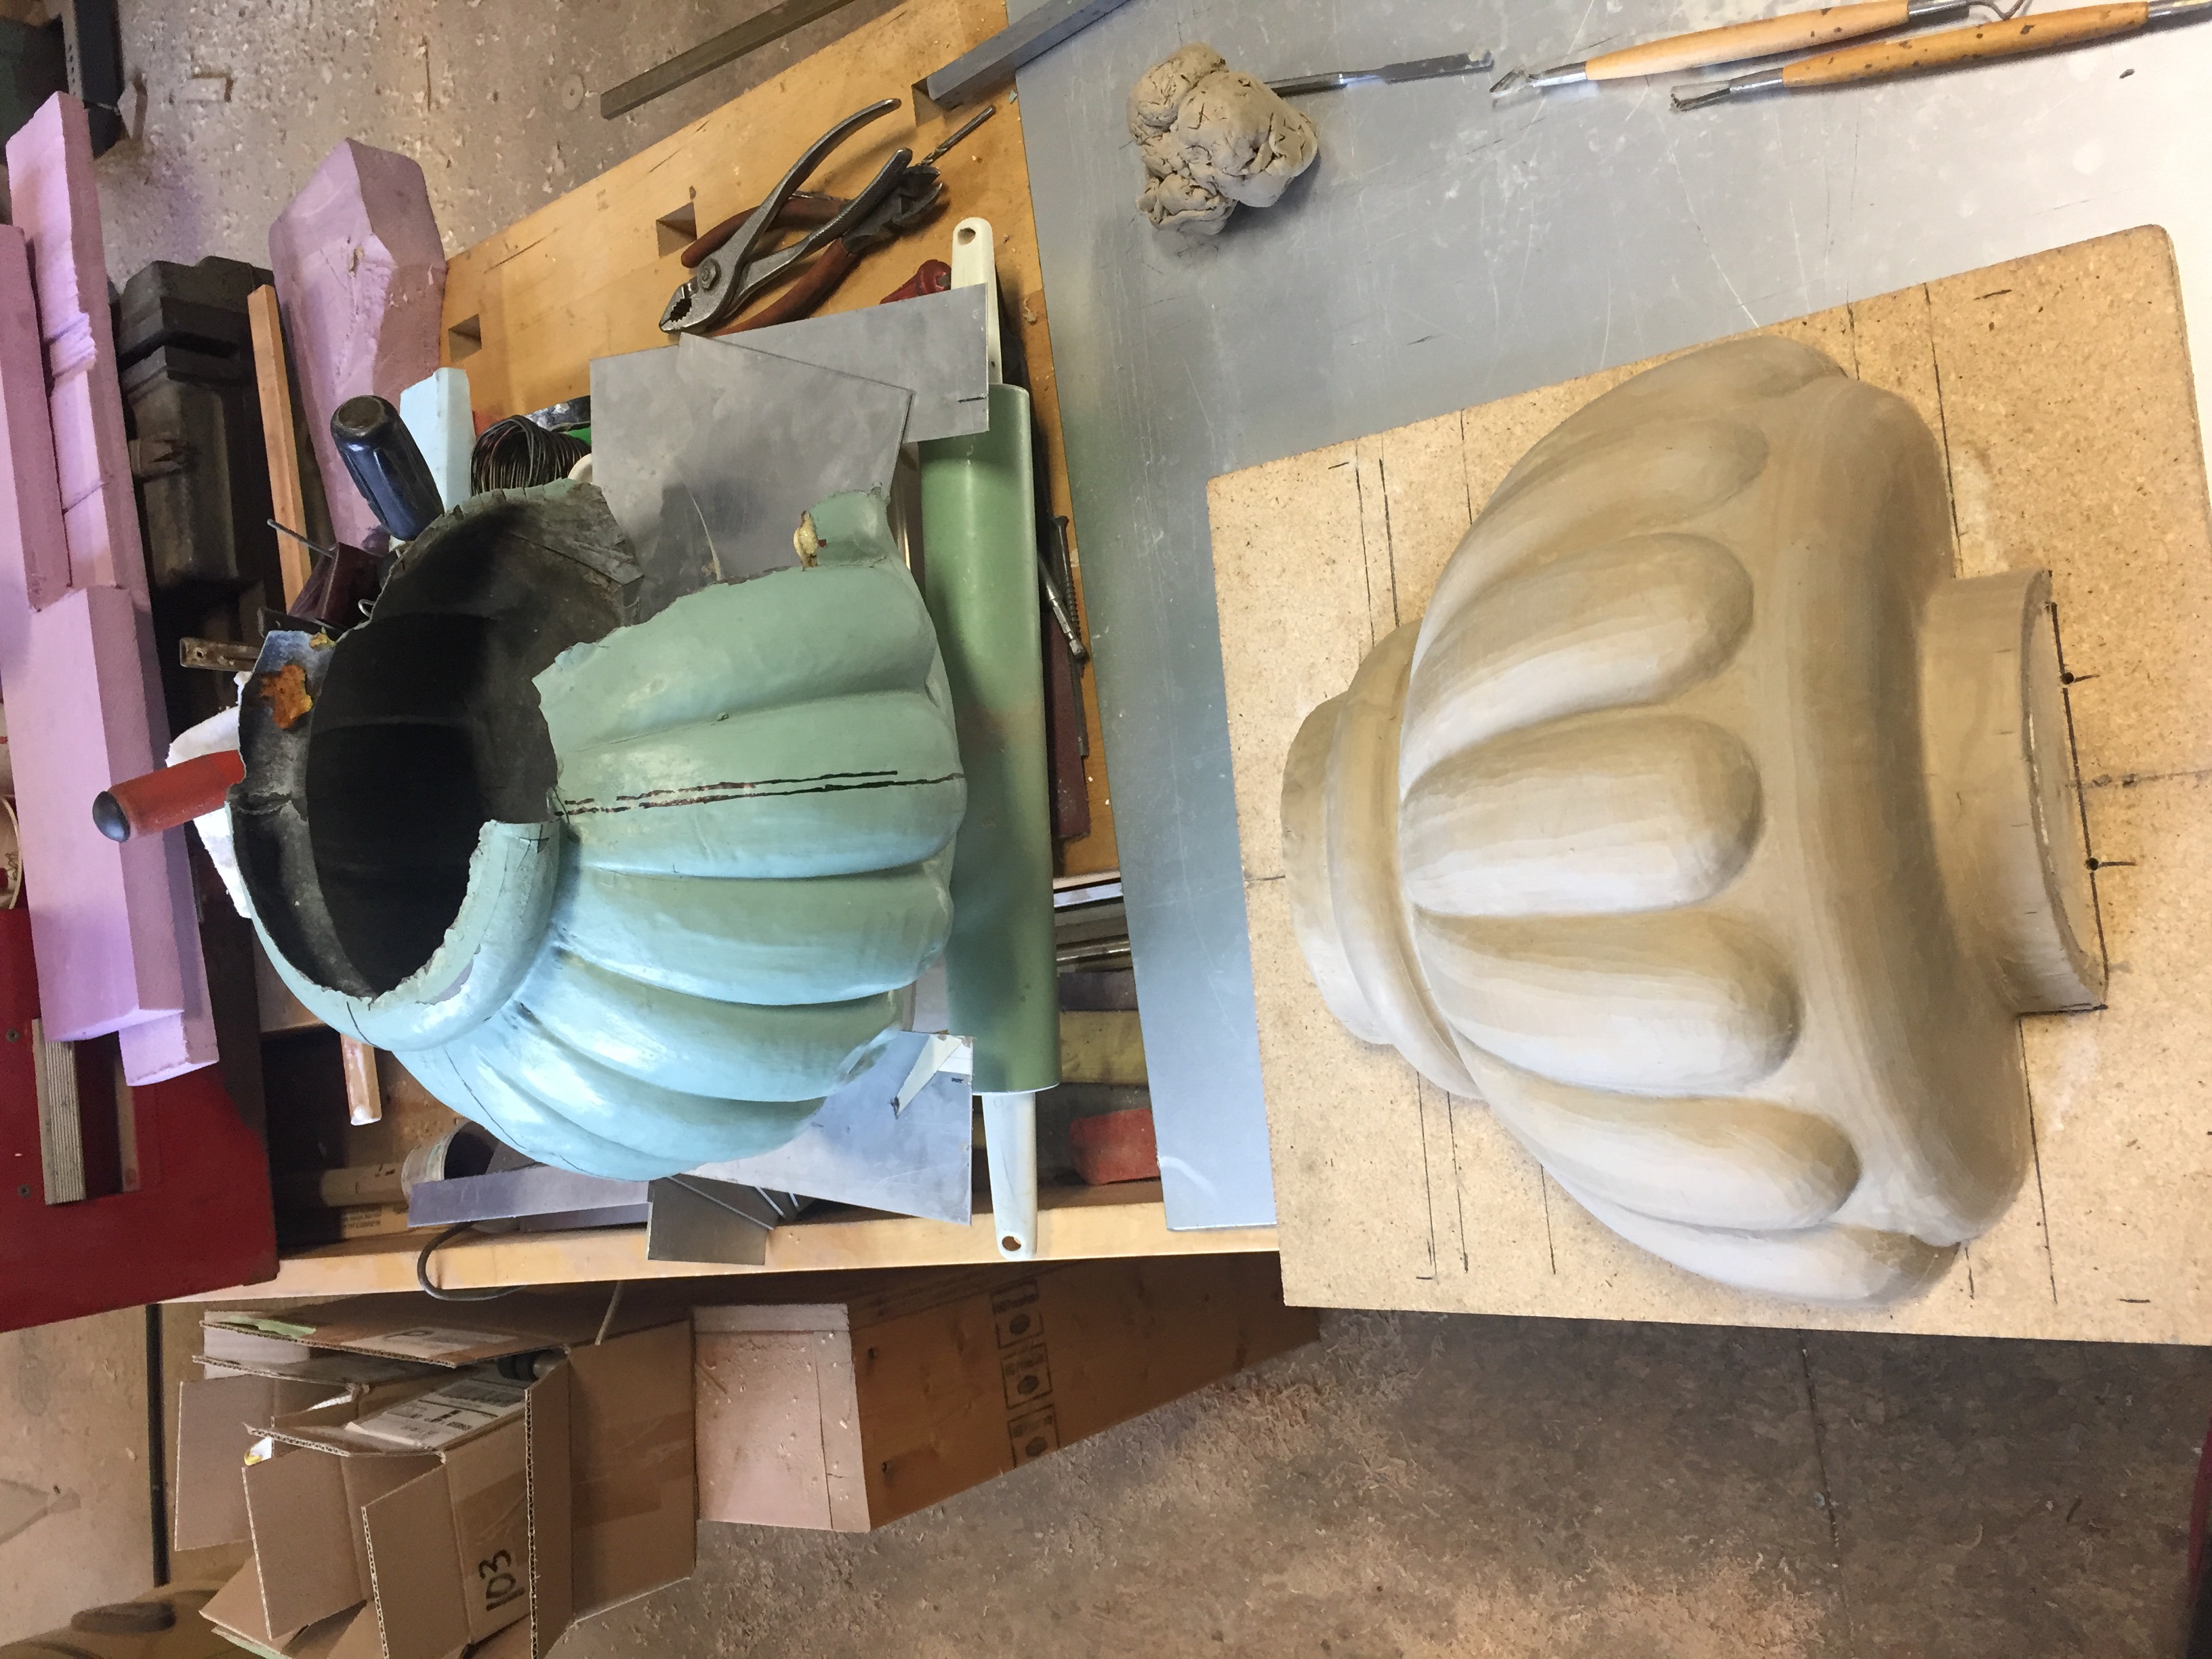
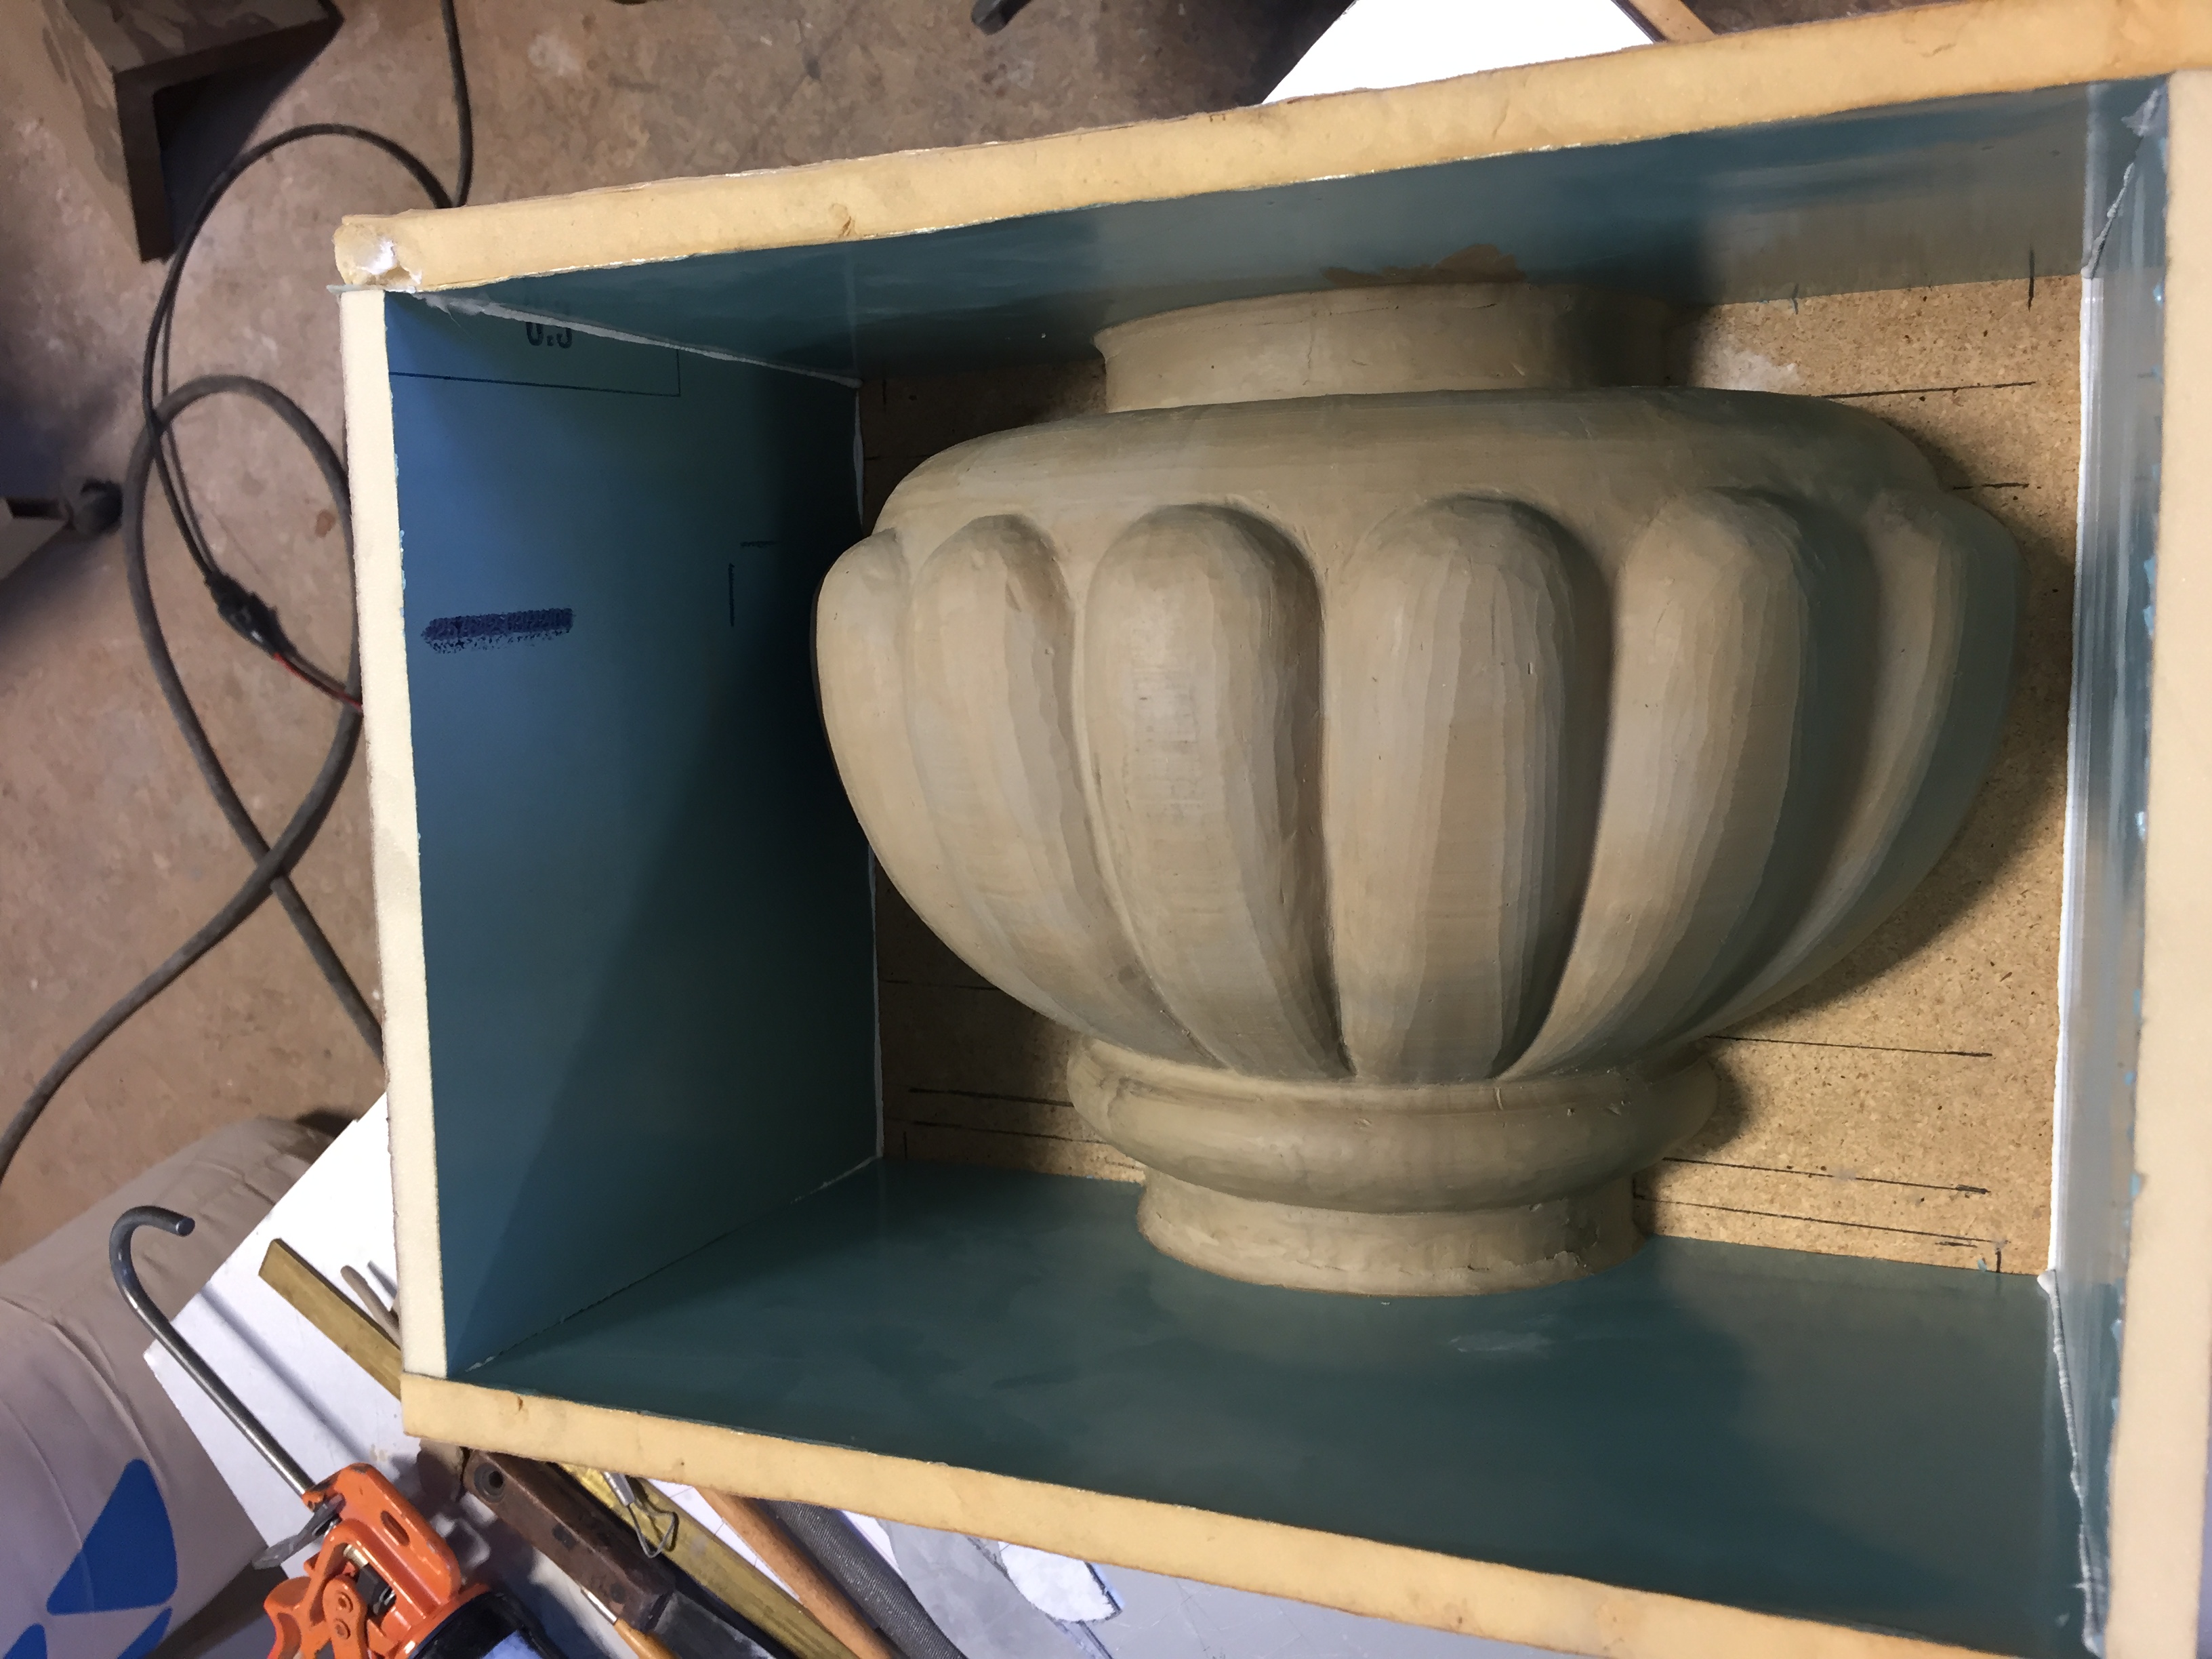
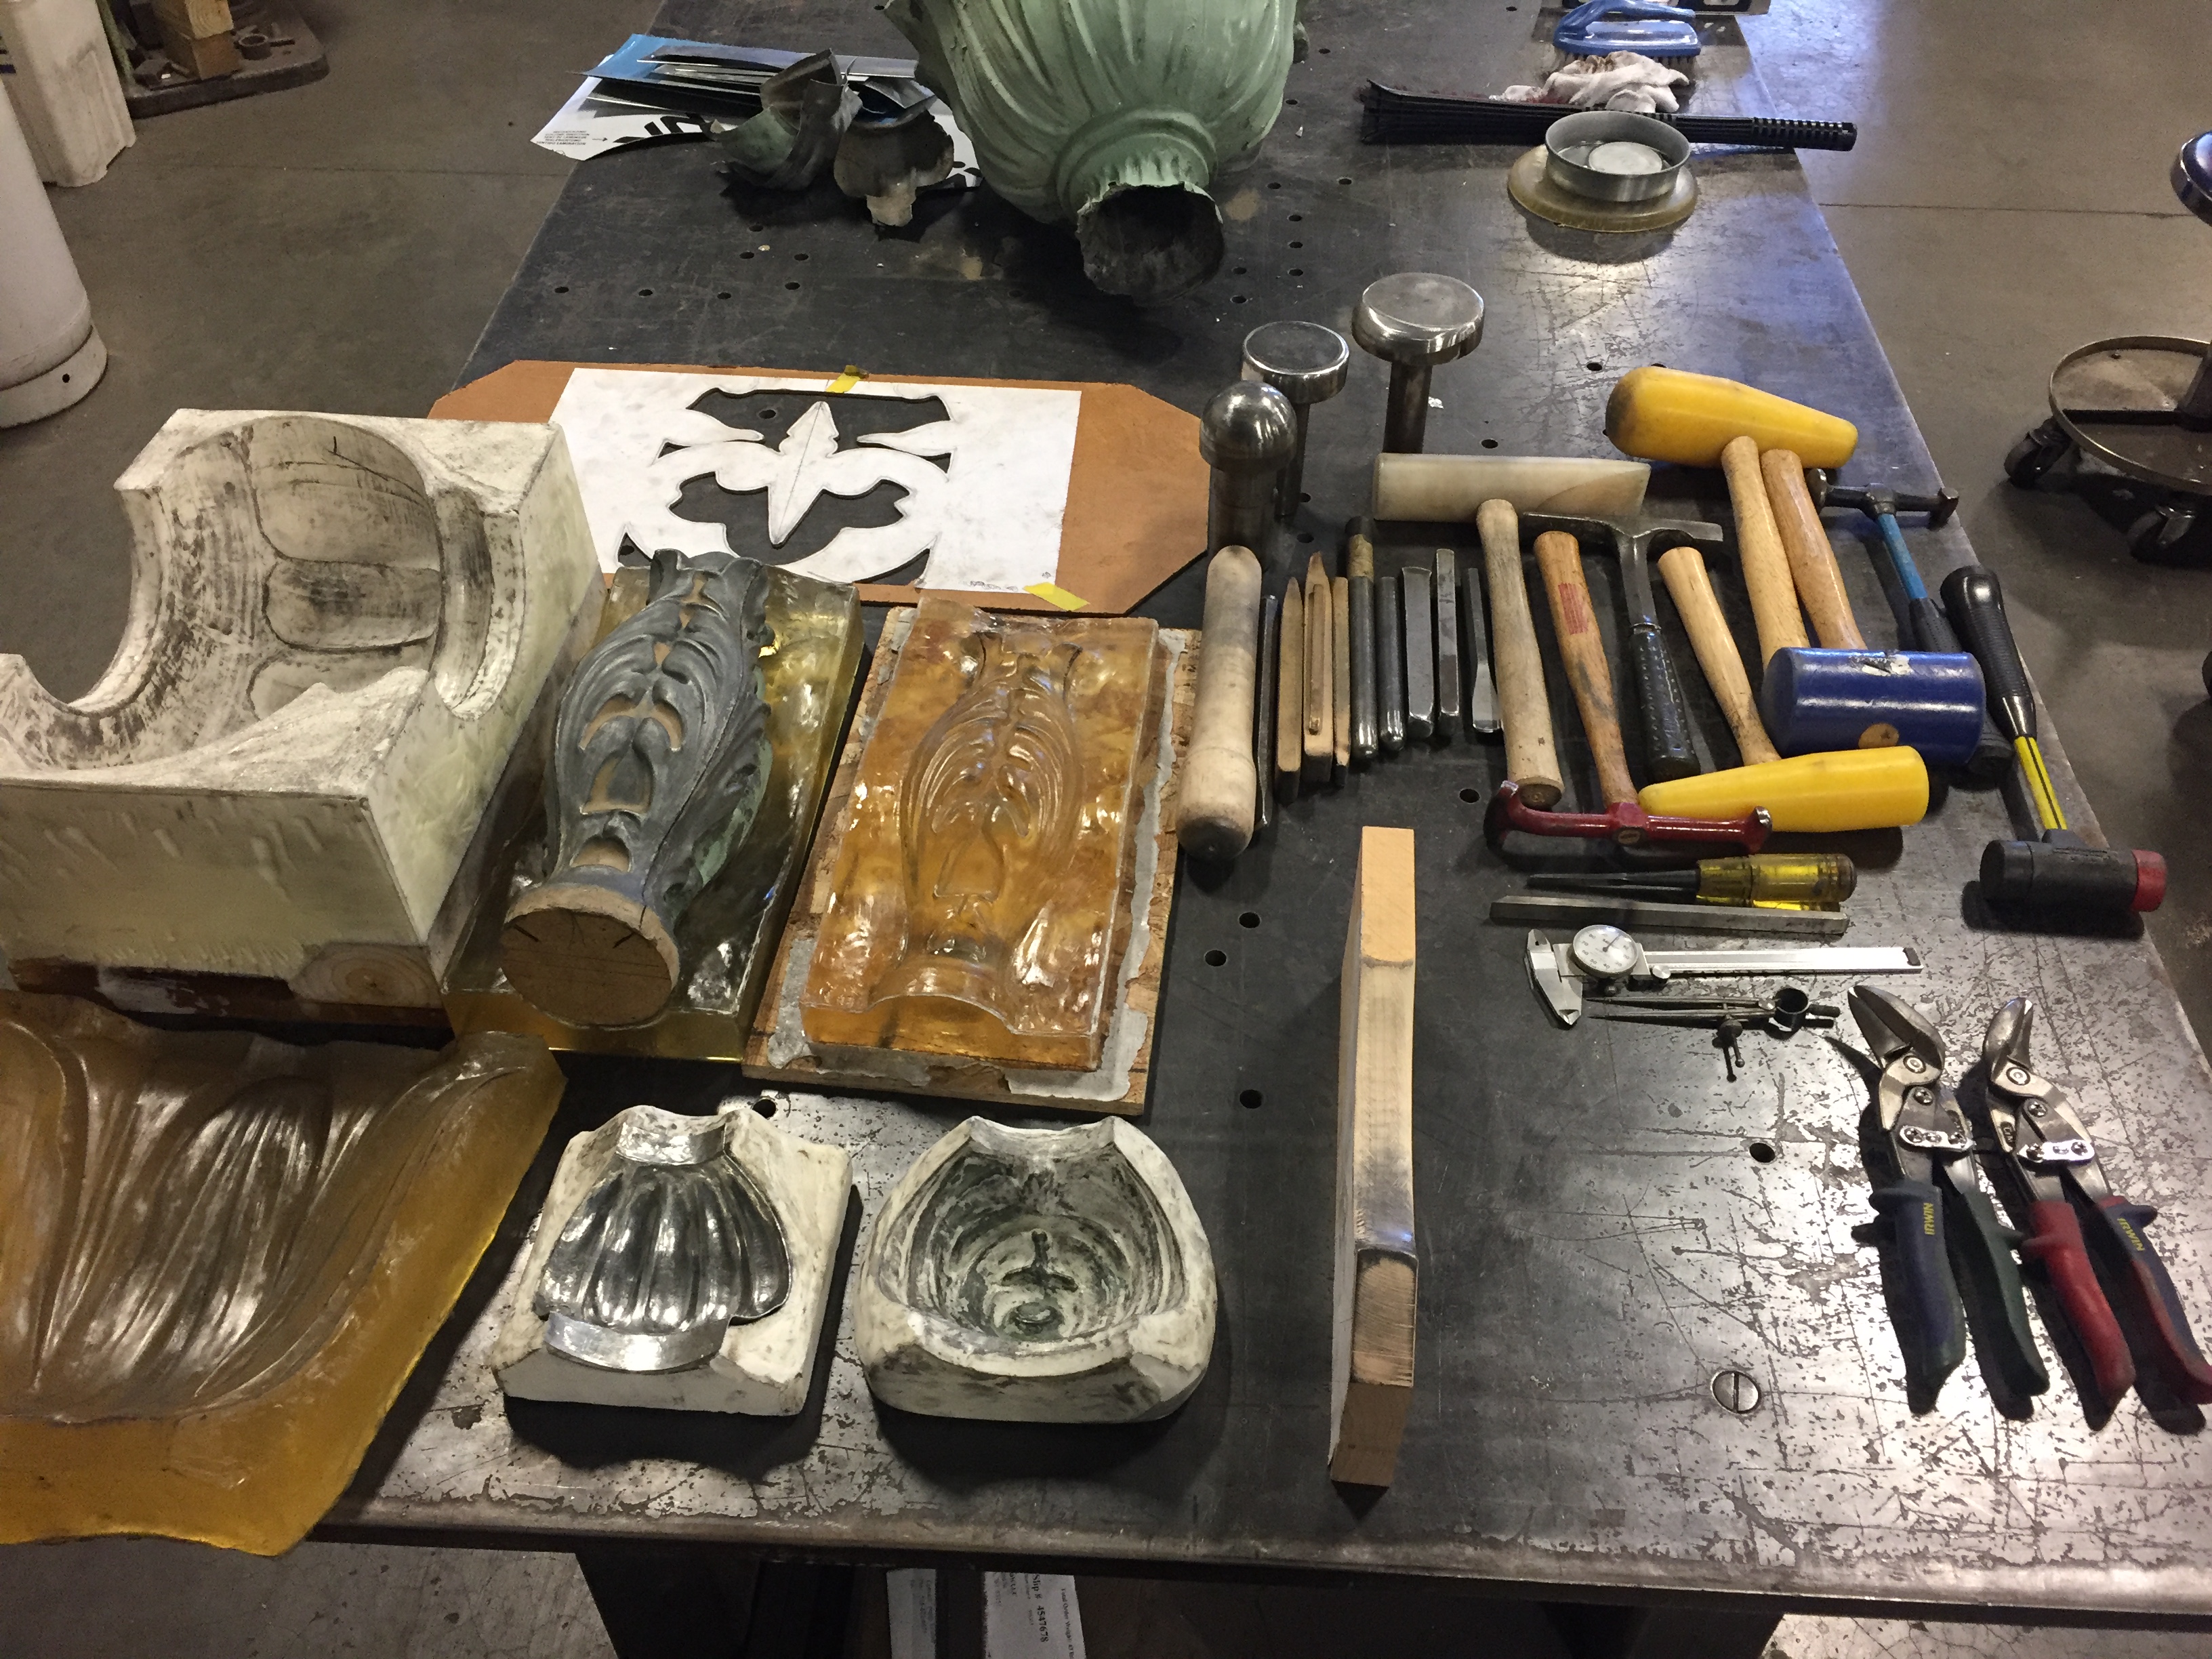
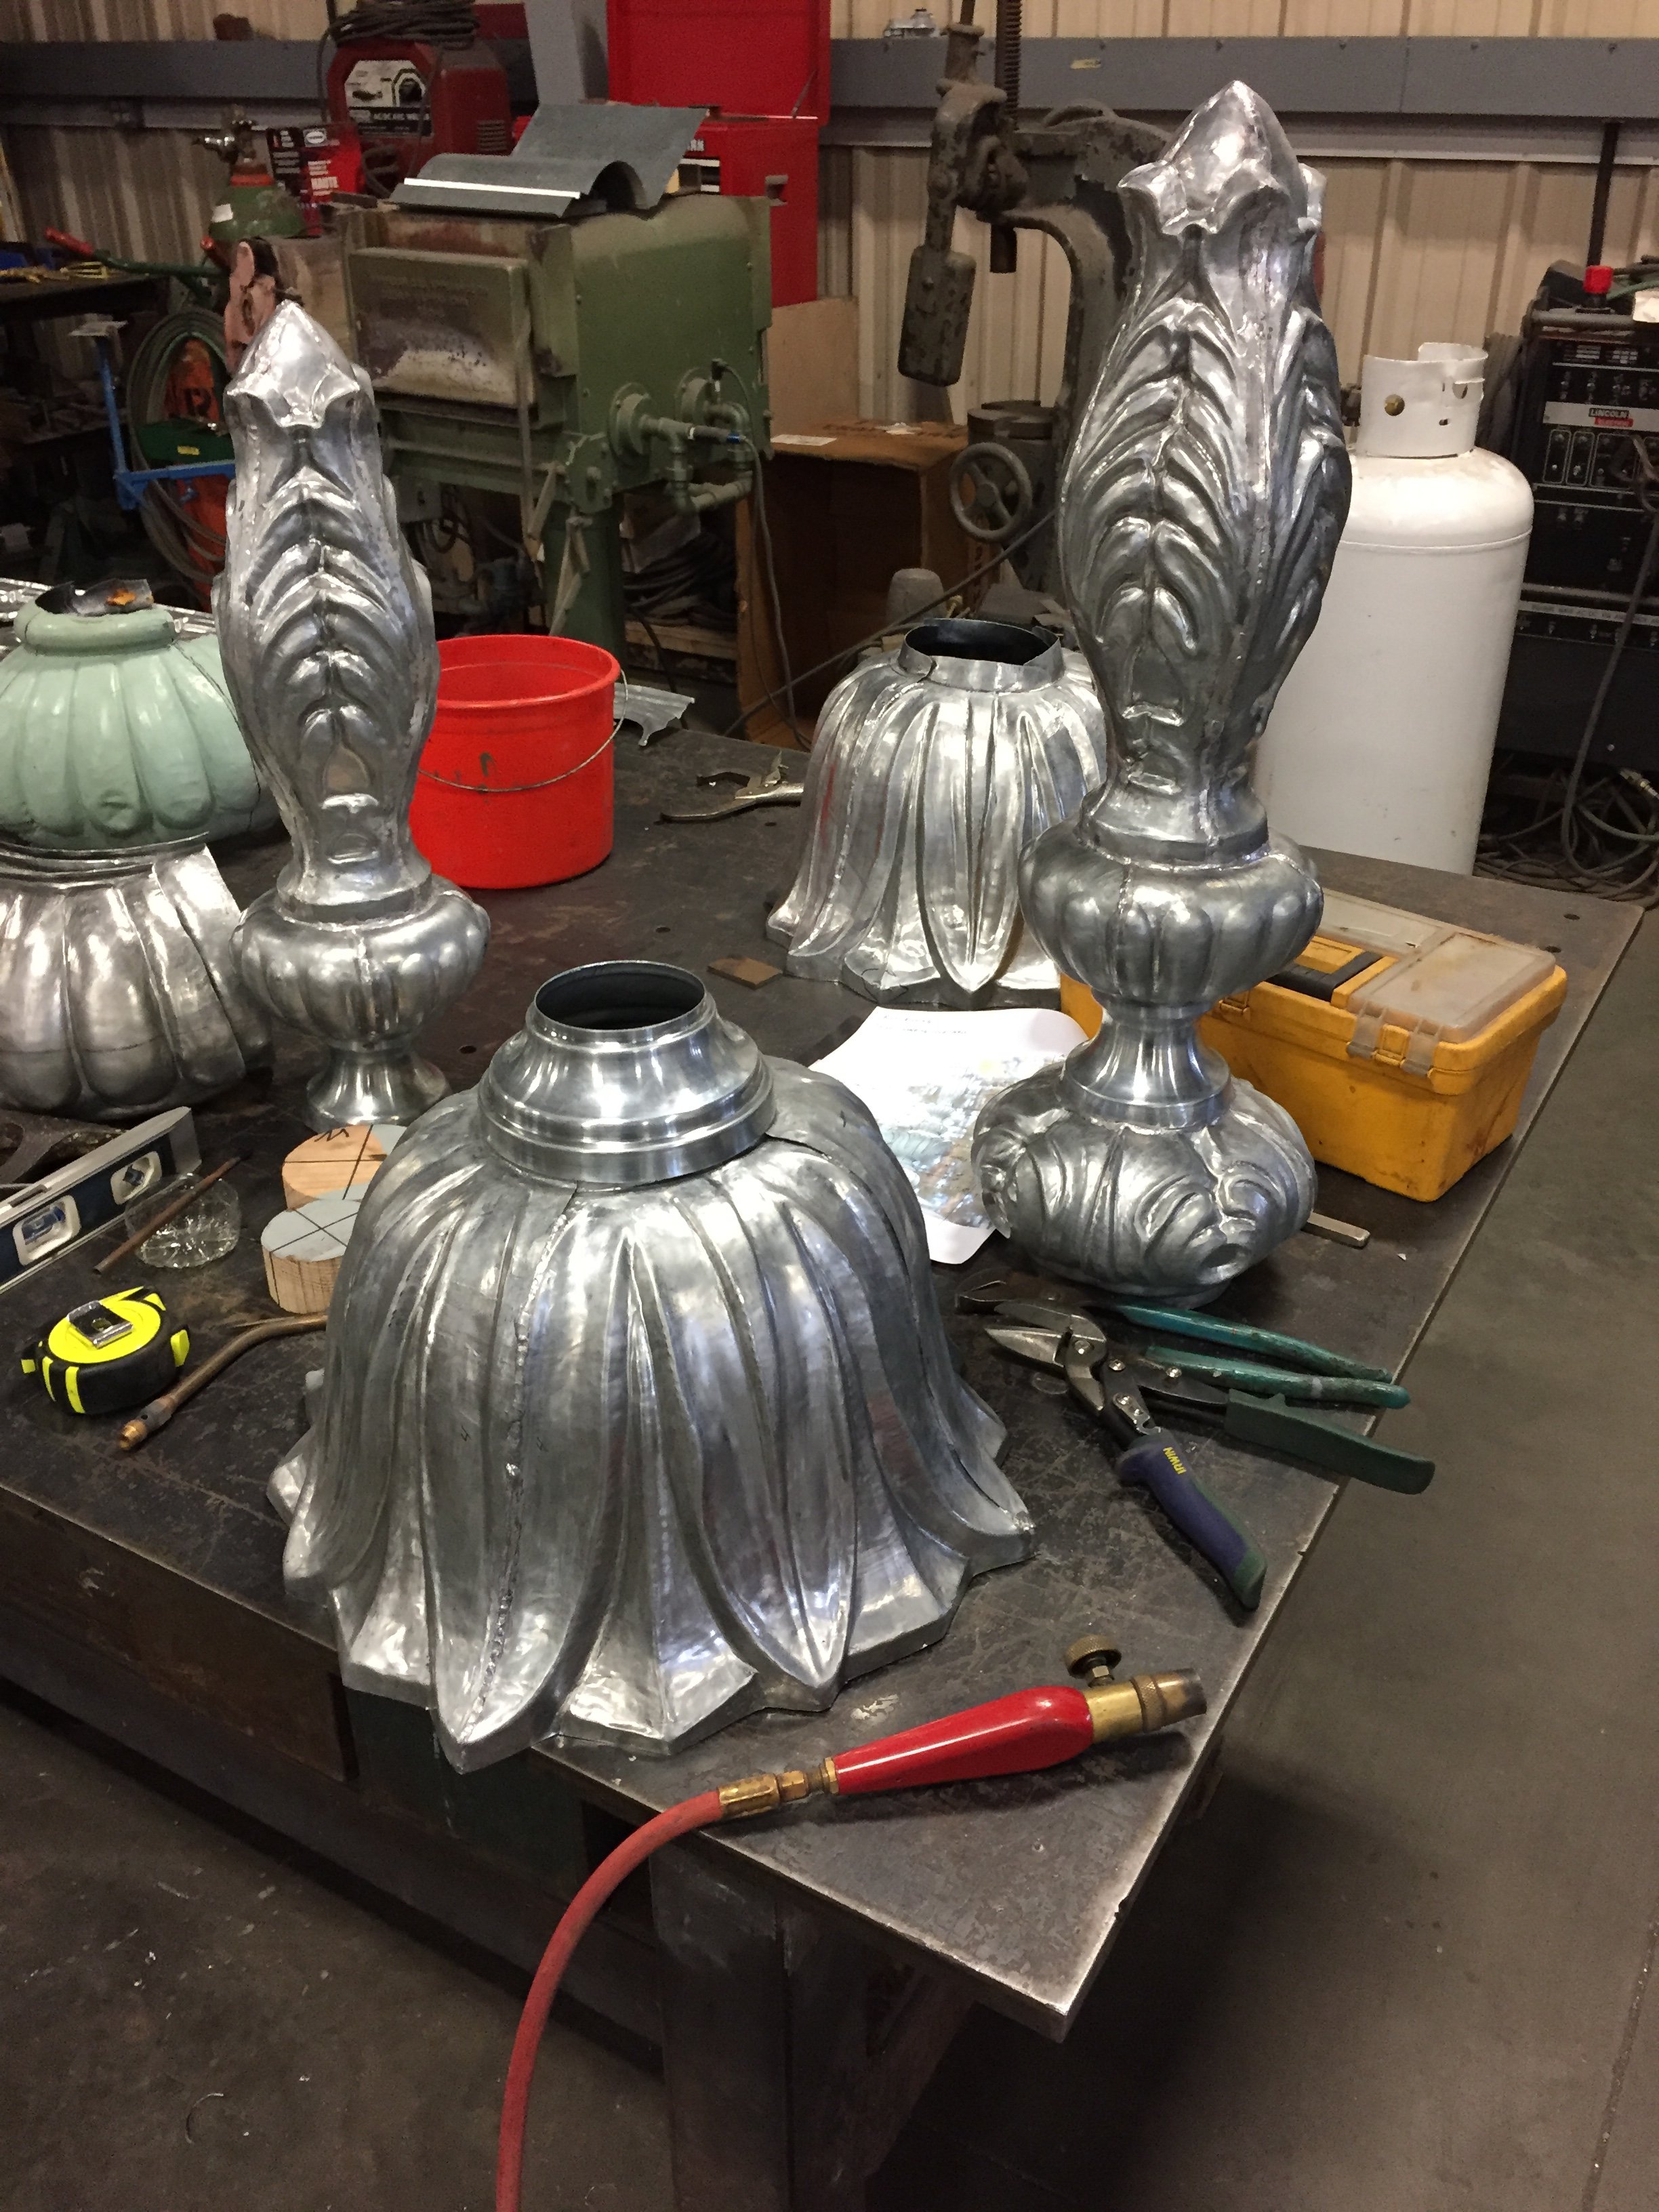
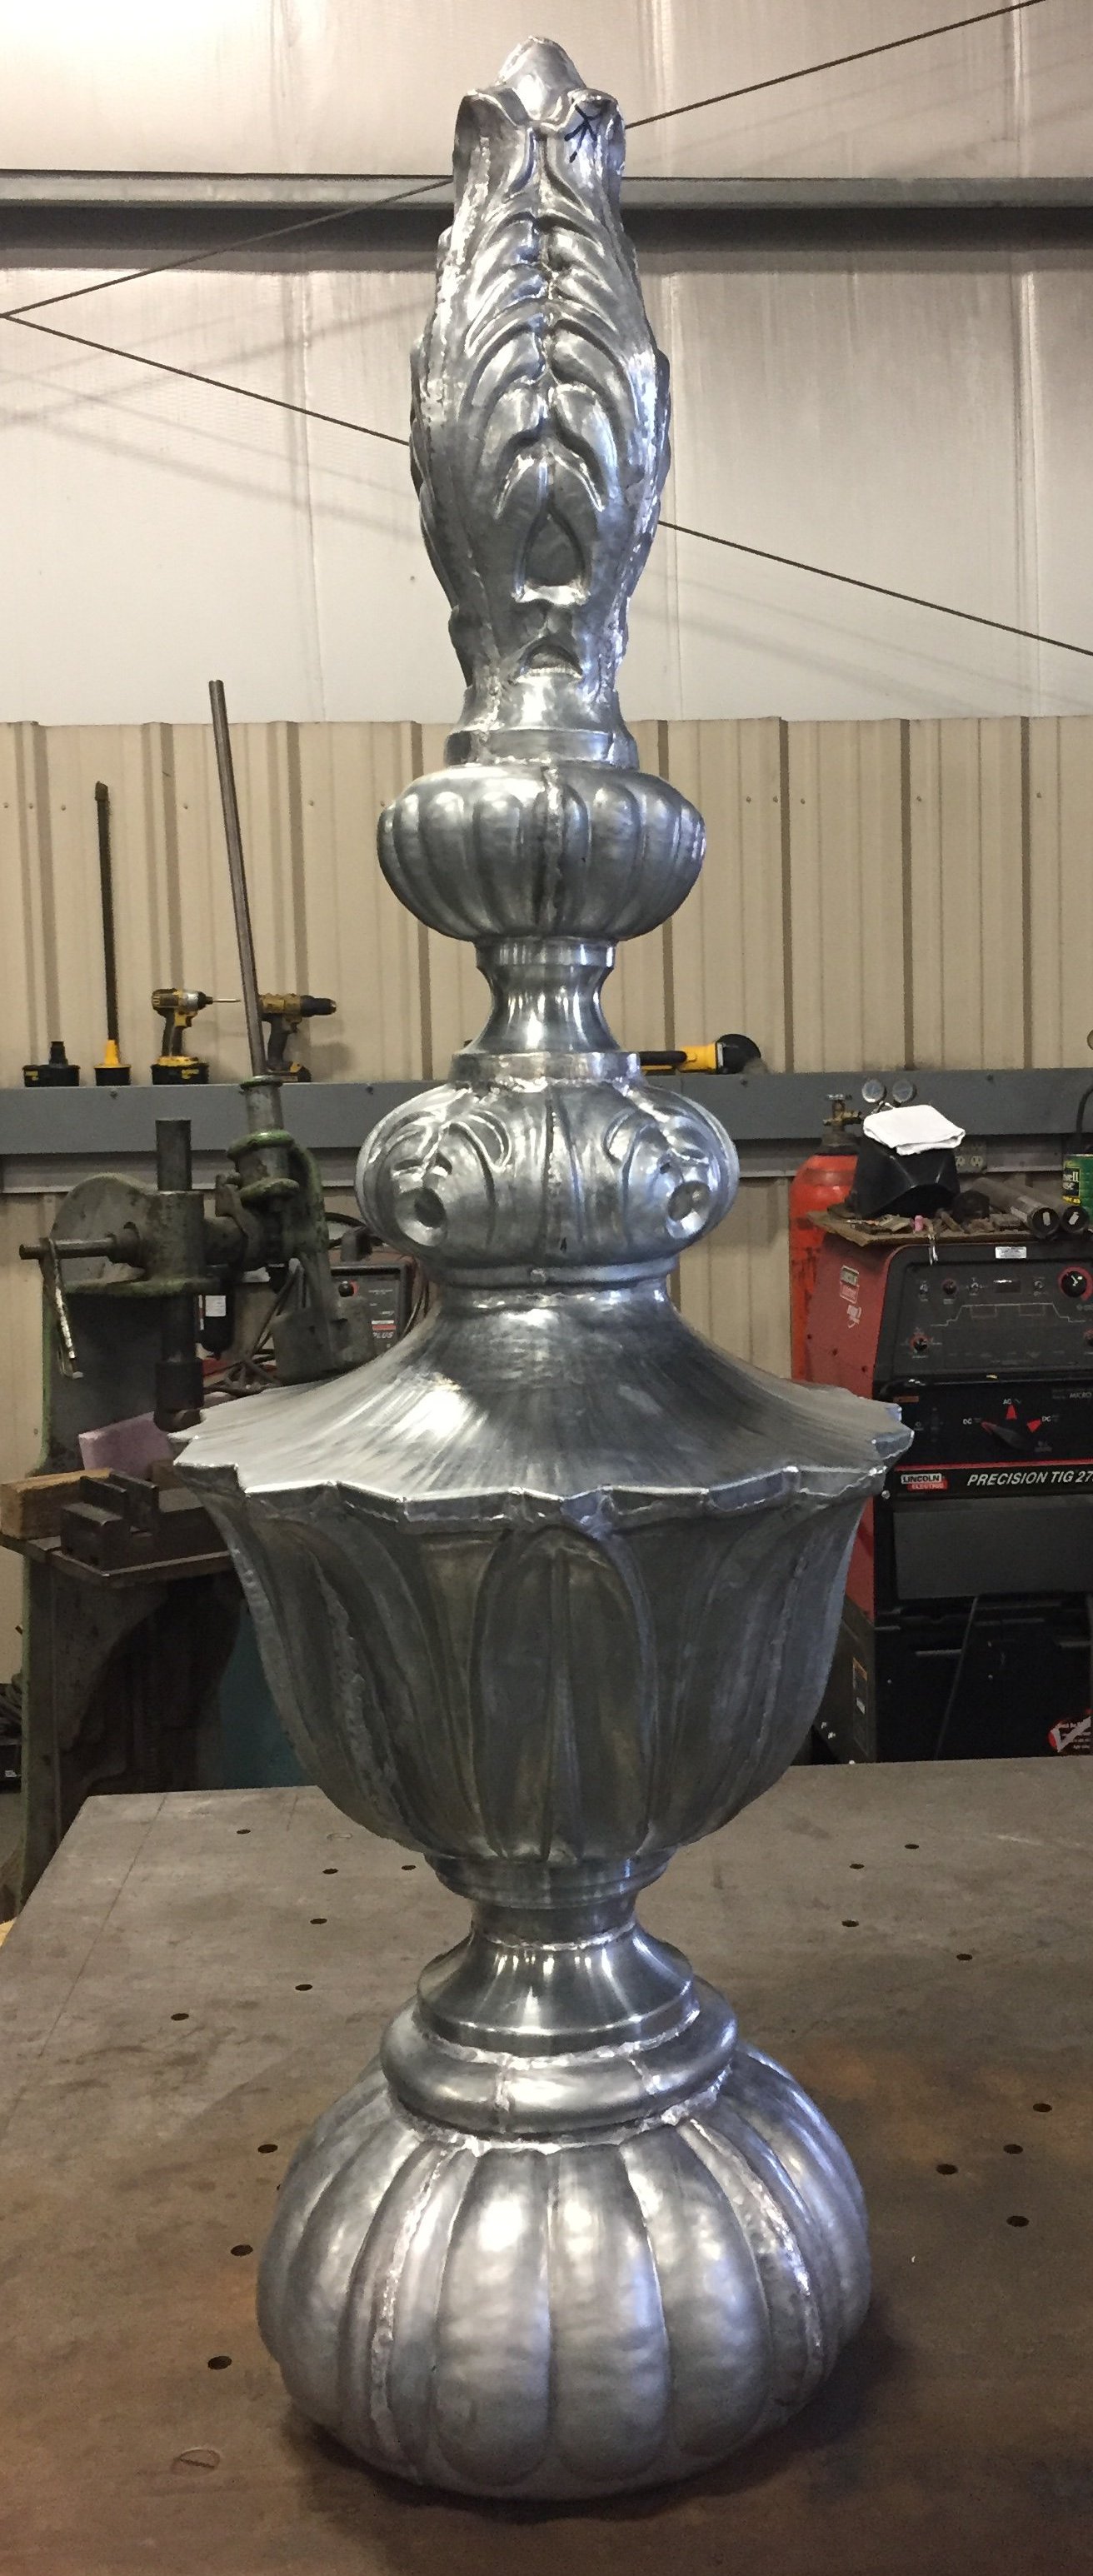
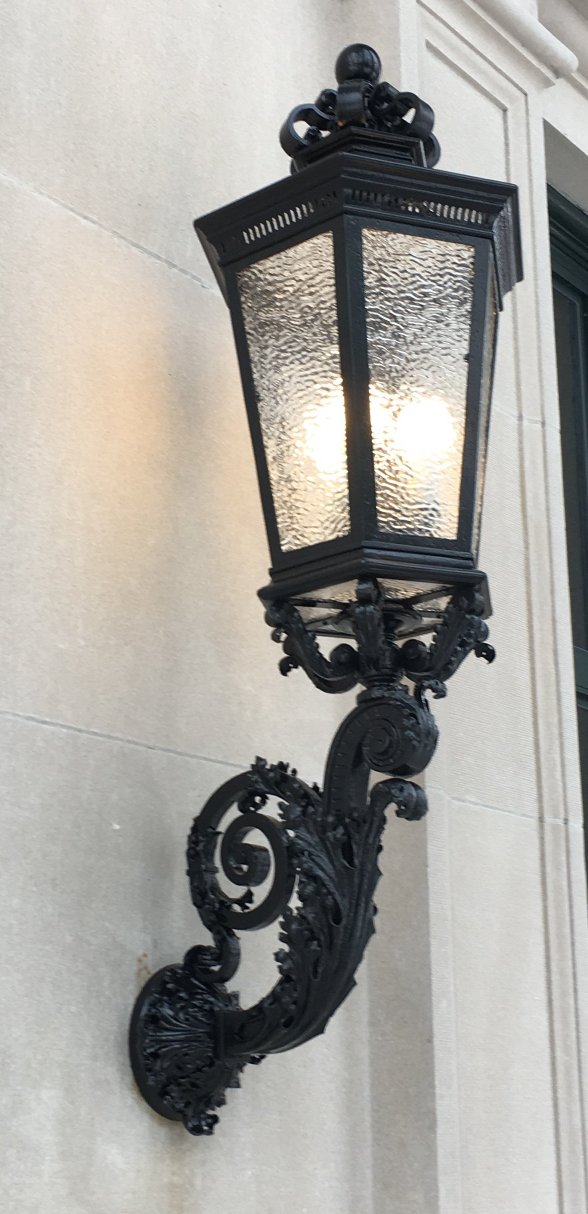
Keicher Metal Arts meticulously restored the four original sconces back to their former glory. We disassembled the original fixtures and developed a full set of very detailed shop drawings. We restored what was salvageable. For those components that couldn’t be reused we fabricated, forged, machined, and spun replacement pieces. After reassembly, all surfaces were then primed and painted with high performance coatings. Lastly, new wiring, sockets, LED bulbs, and glass were installed.
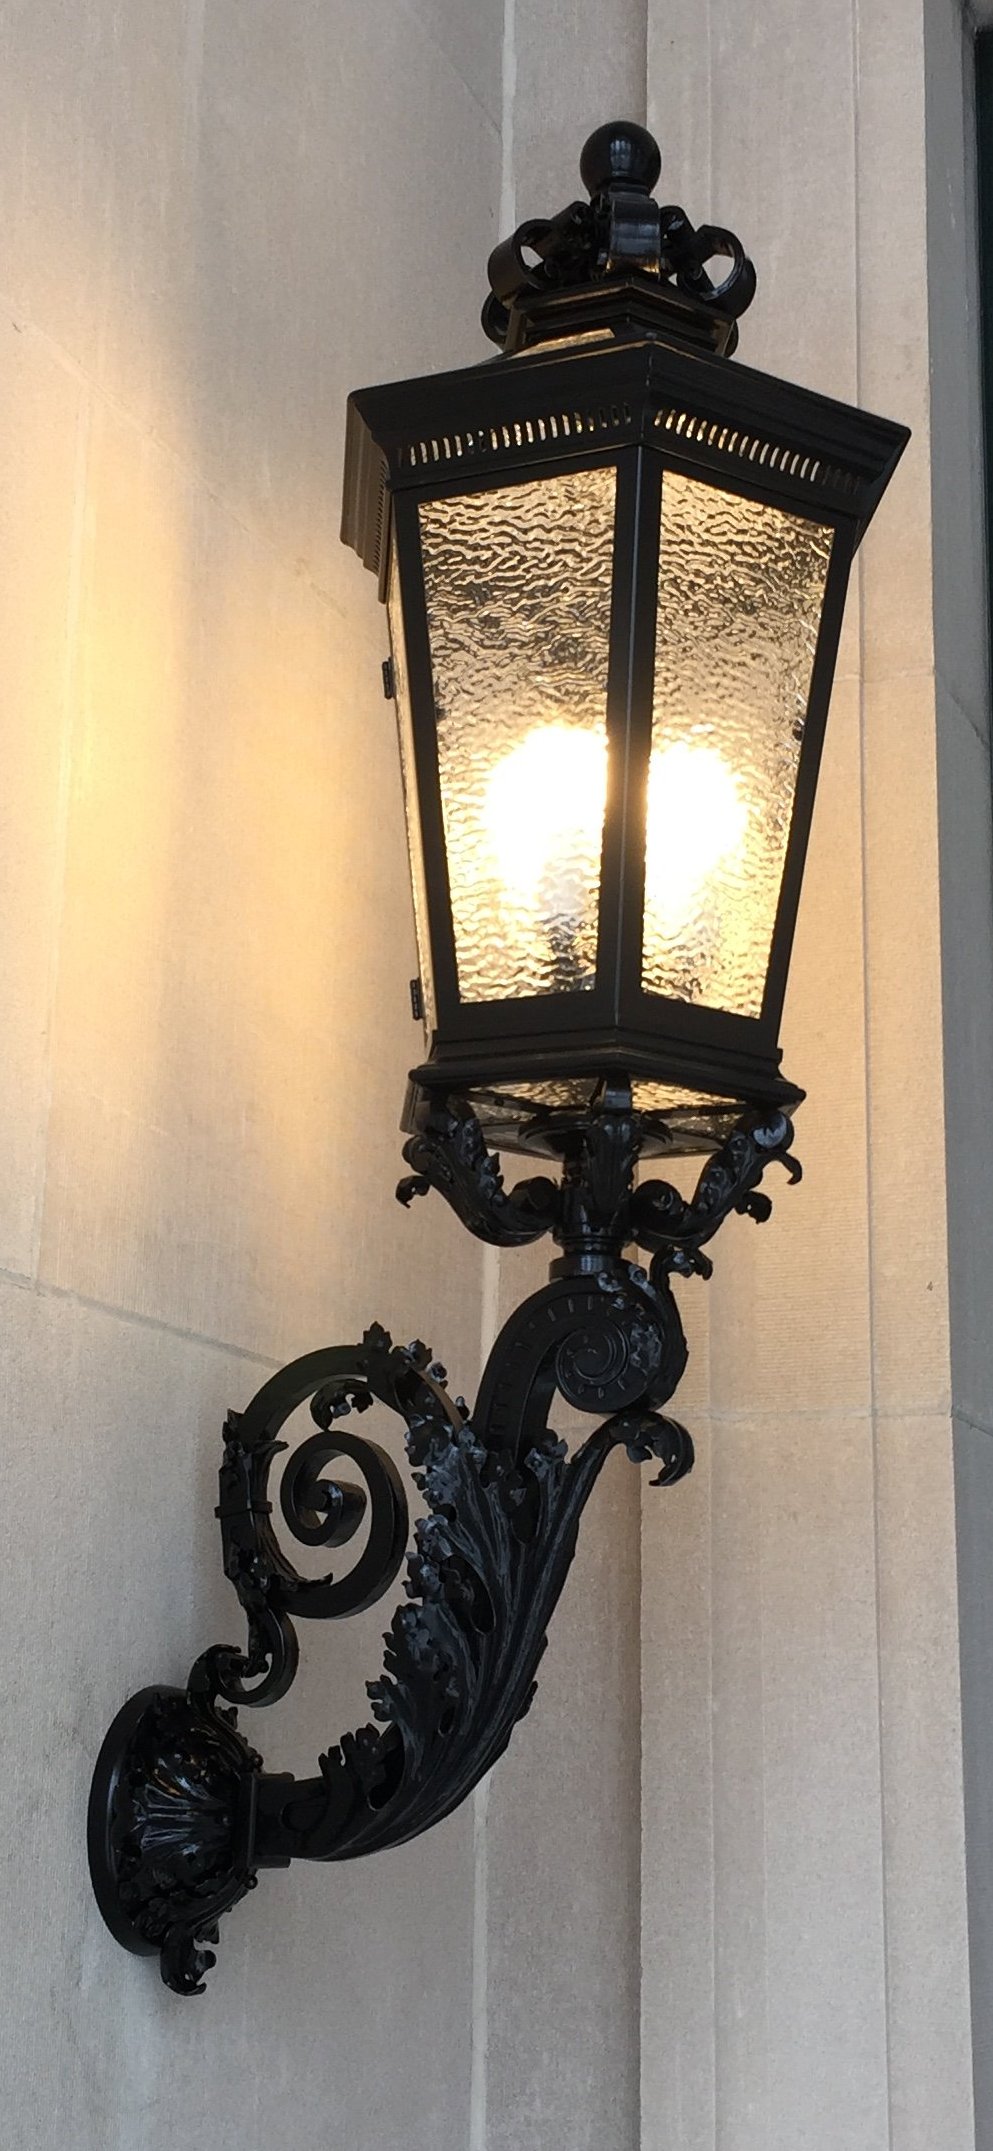
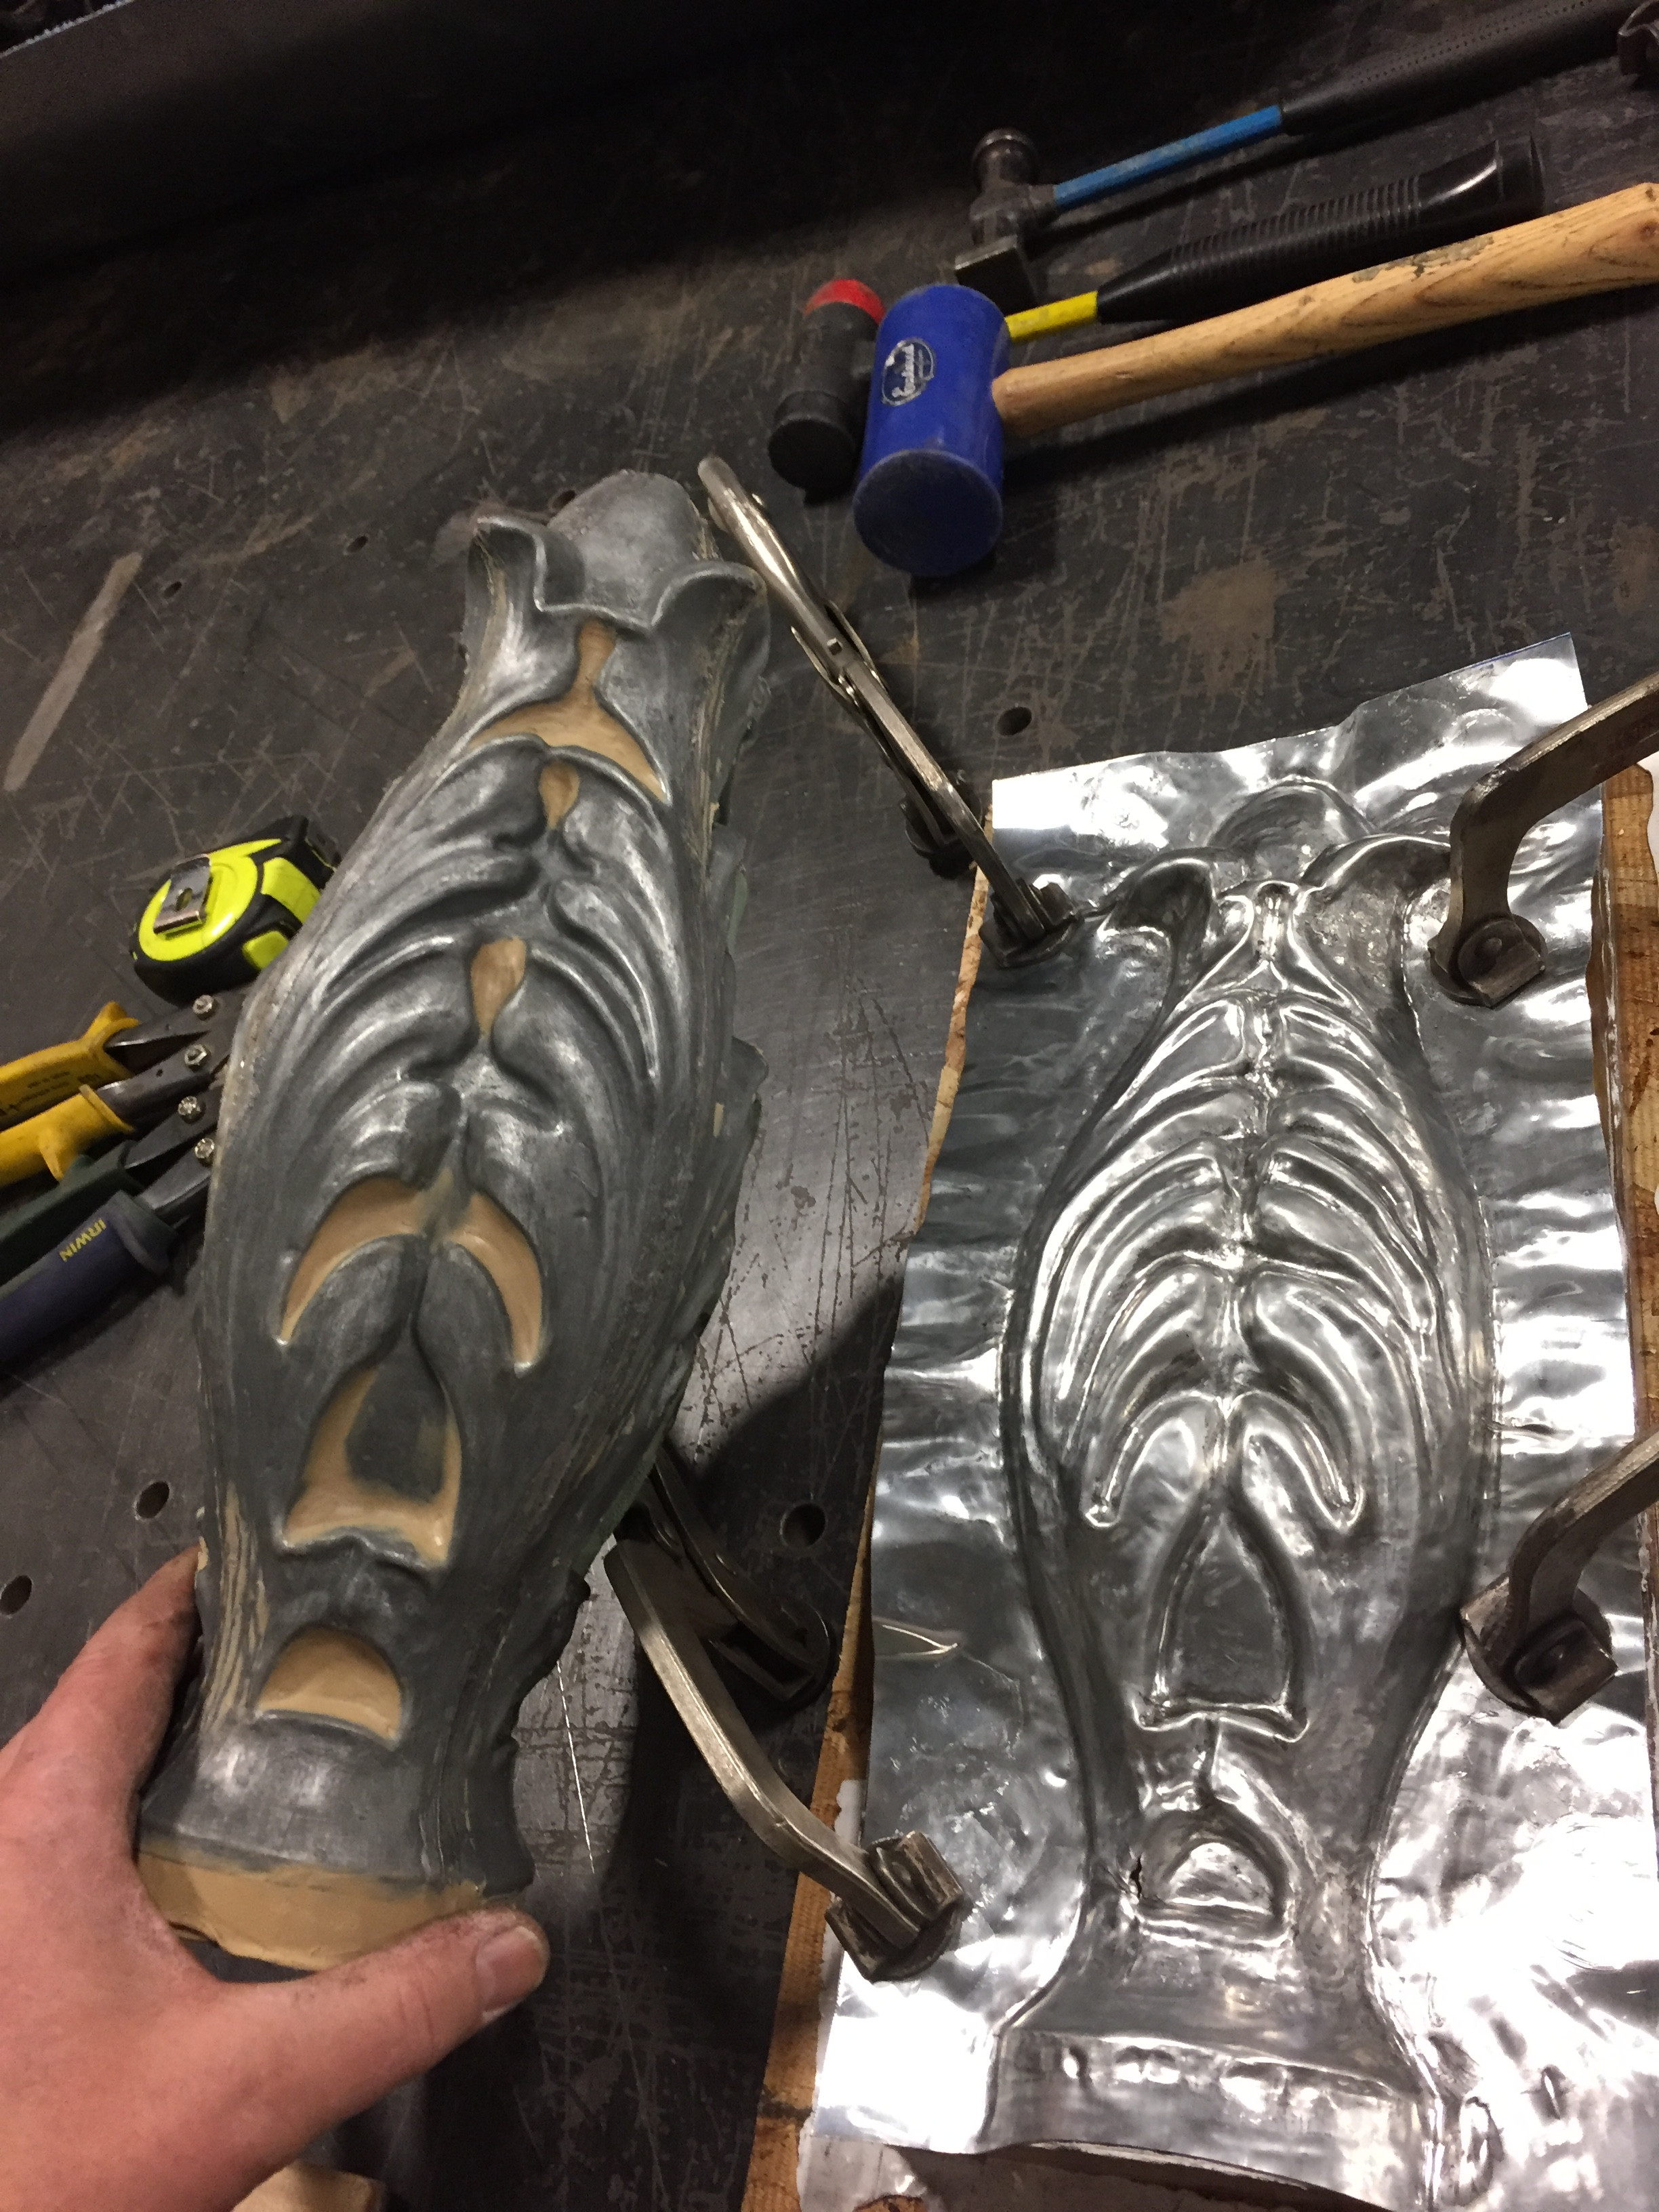
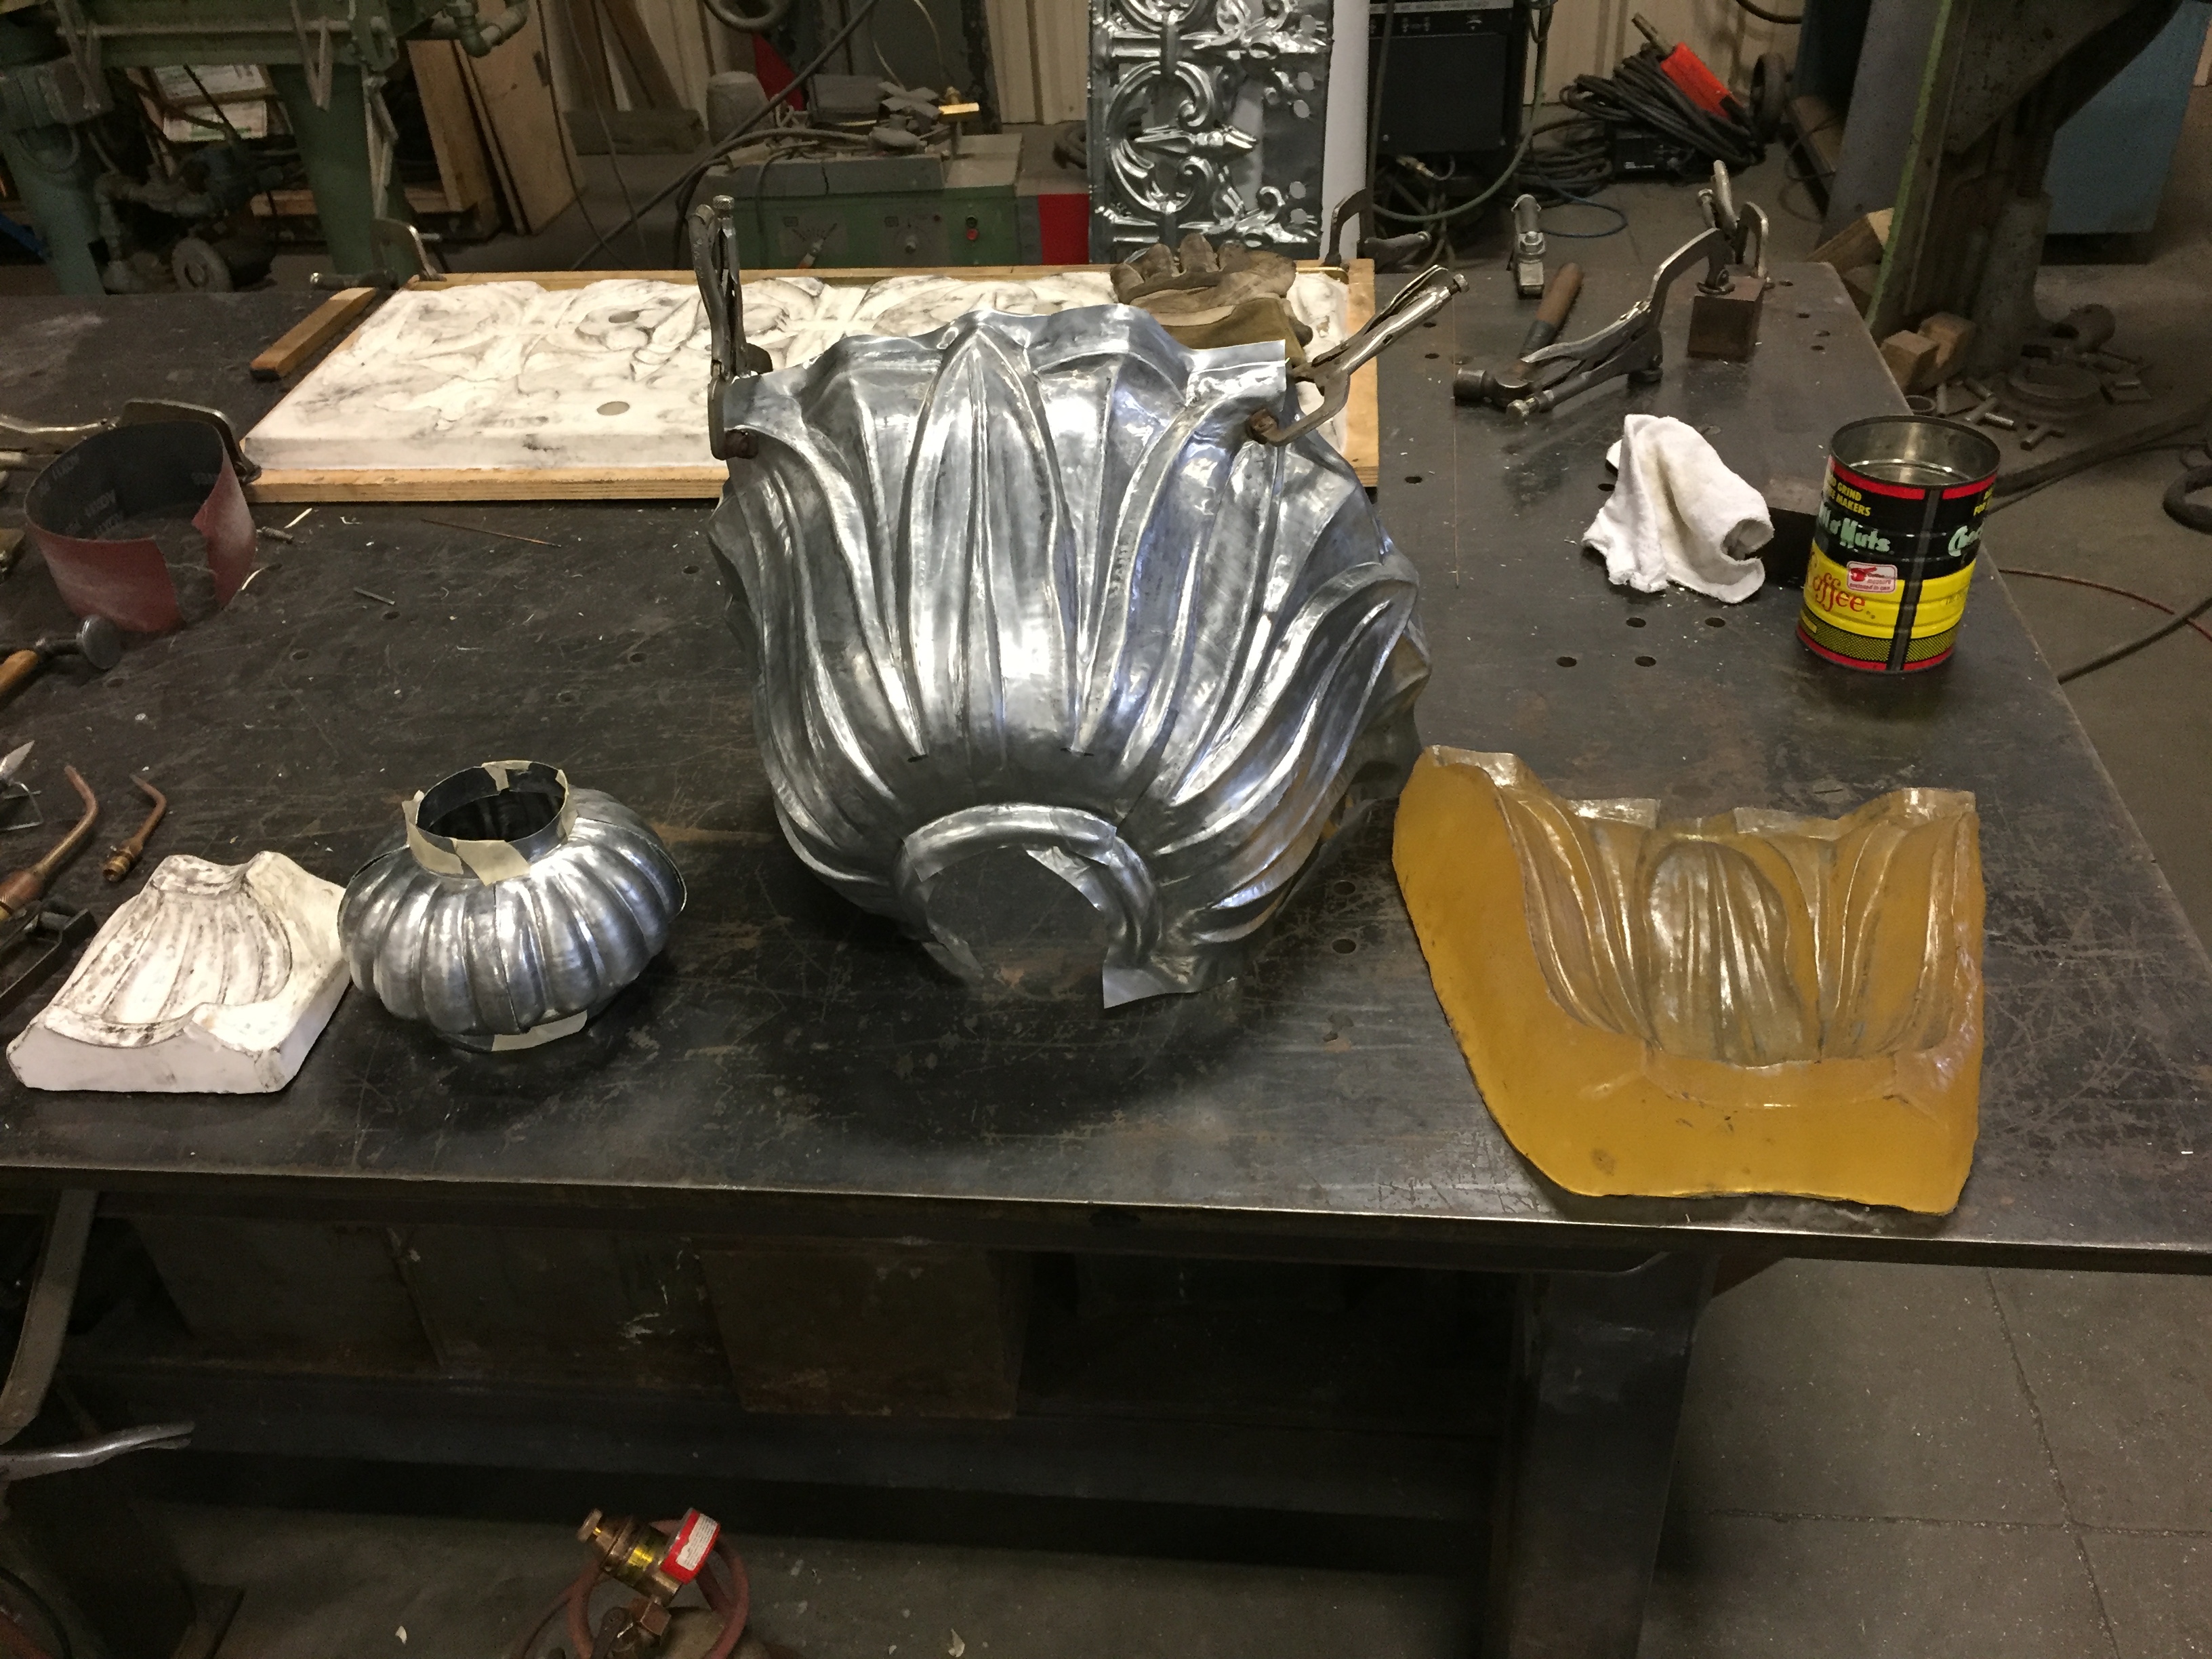
REPRODUCTION
Keicher Metal Arts reproduced two new wall sconces based on the shop drawings that we made from the original sconces. All new components were reproduced using historically correct methods and materials. This included hand forging, cold forging, repousse, machining various fittings, and fabricating & welding the lantern bodies.
Hard to tell the difference between the restoration and the reproduction, isn’t it?
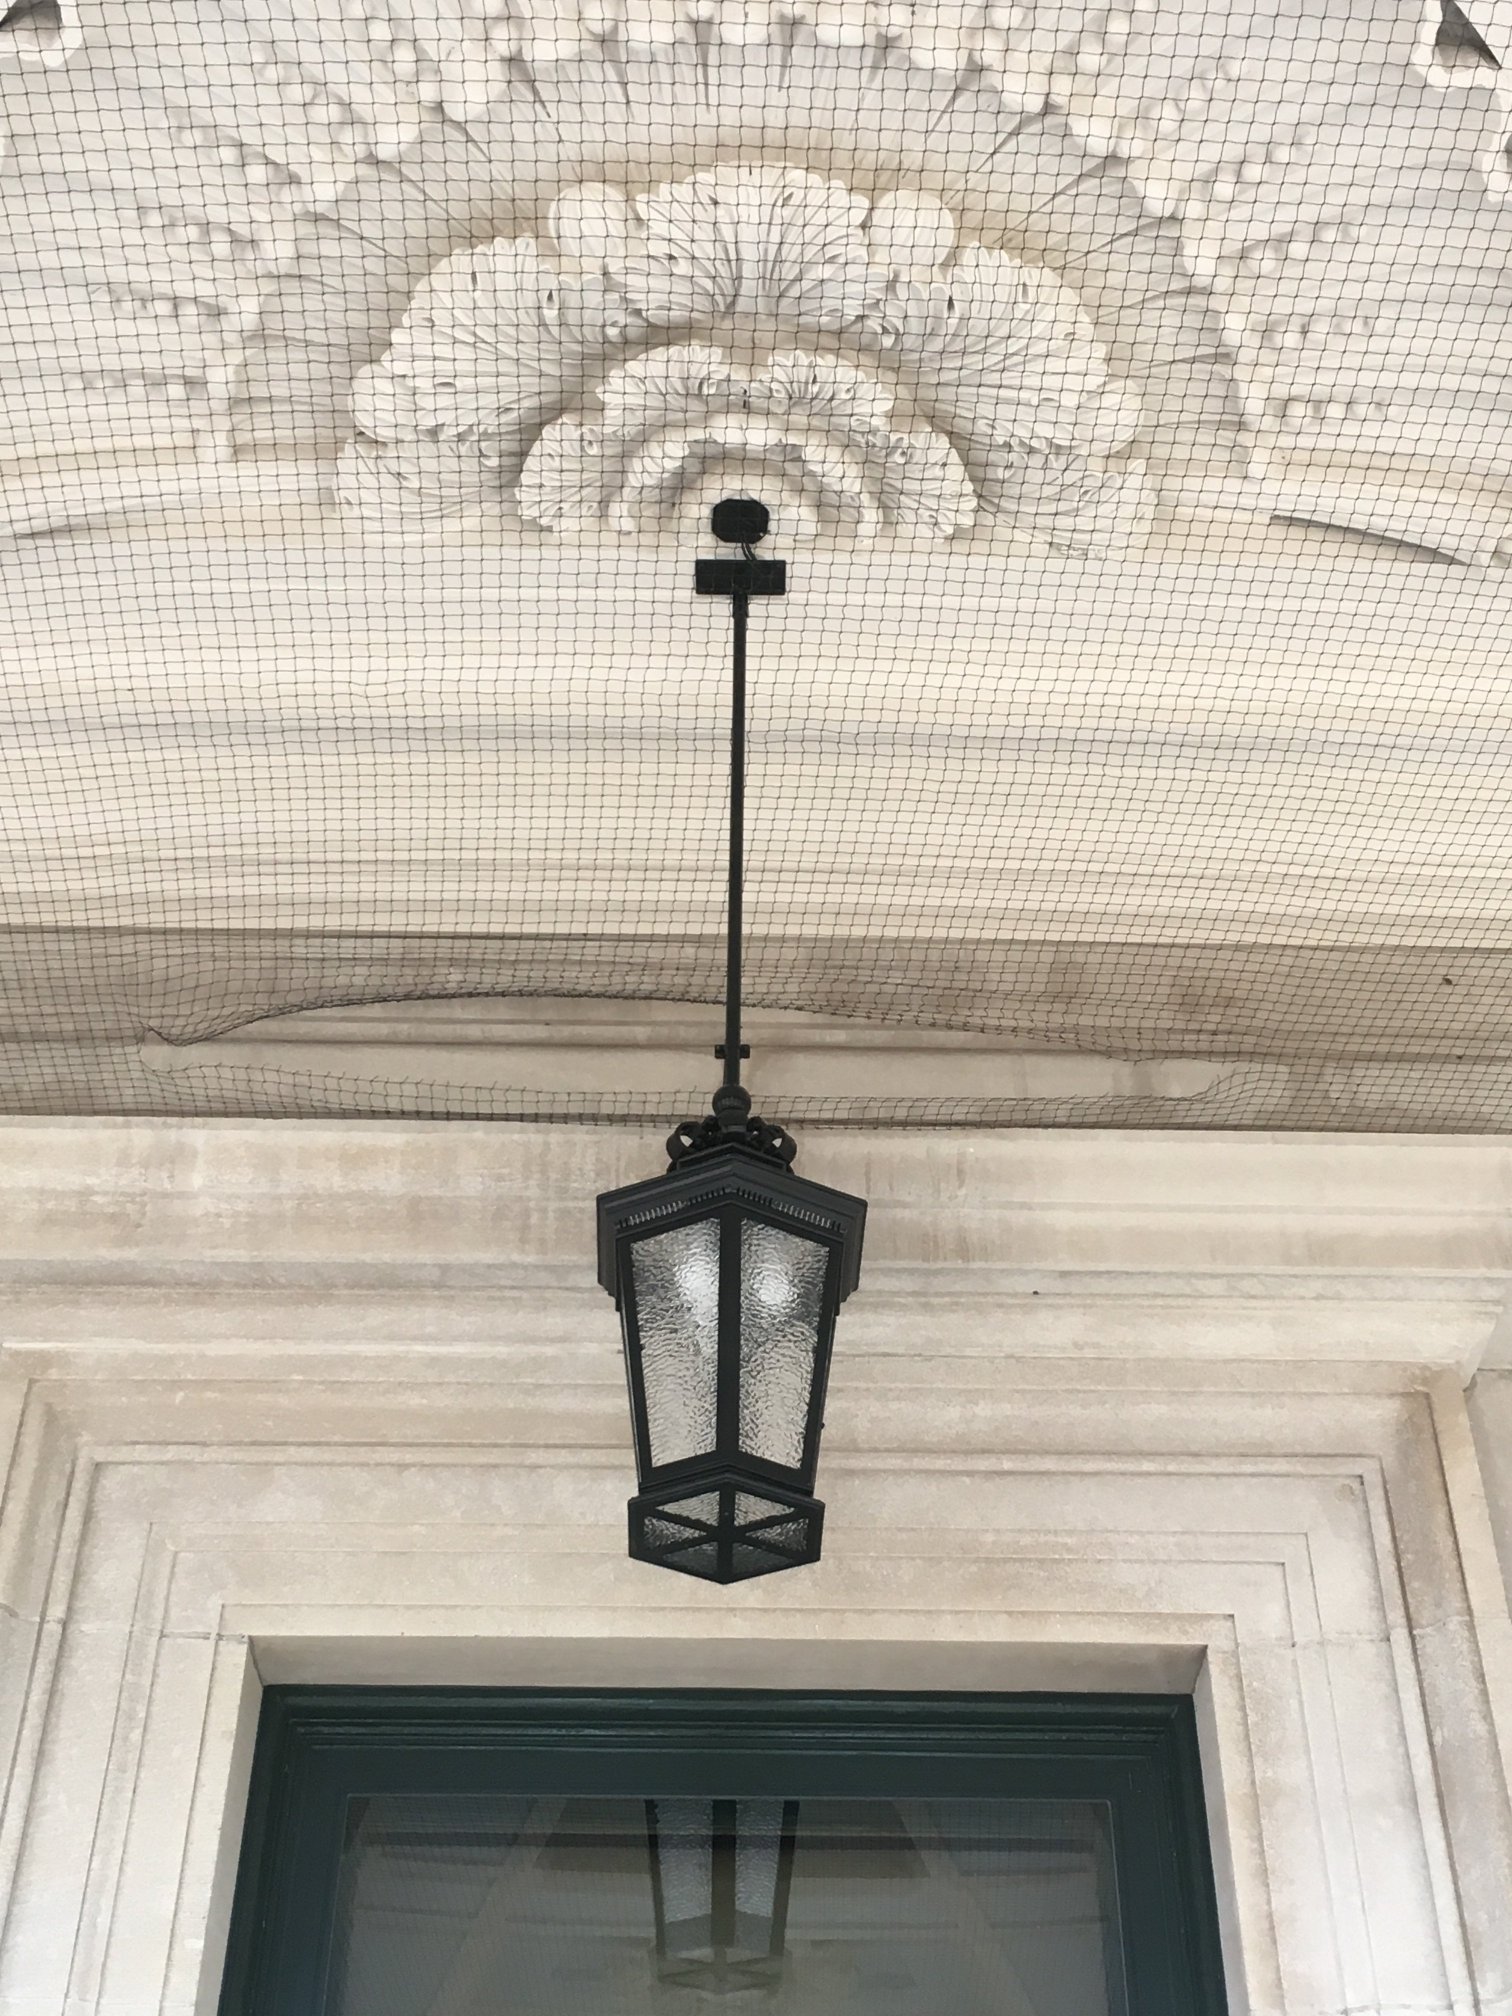
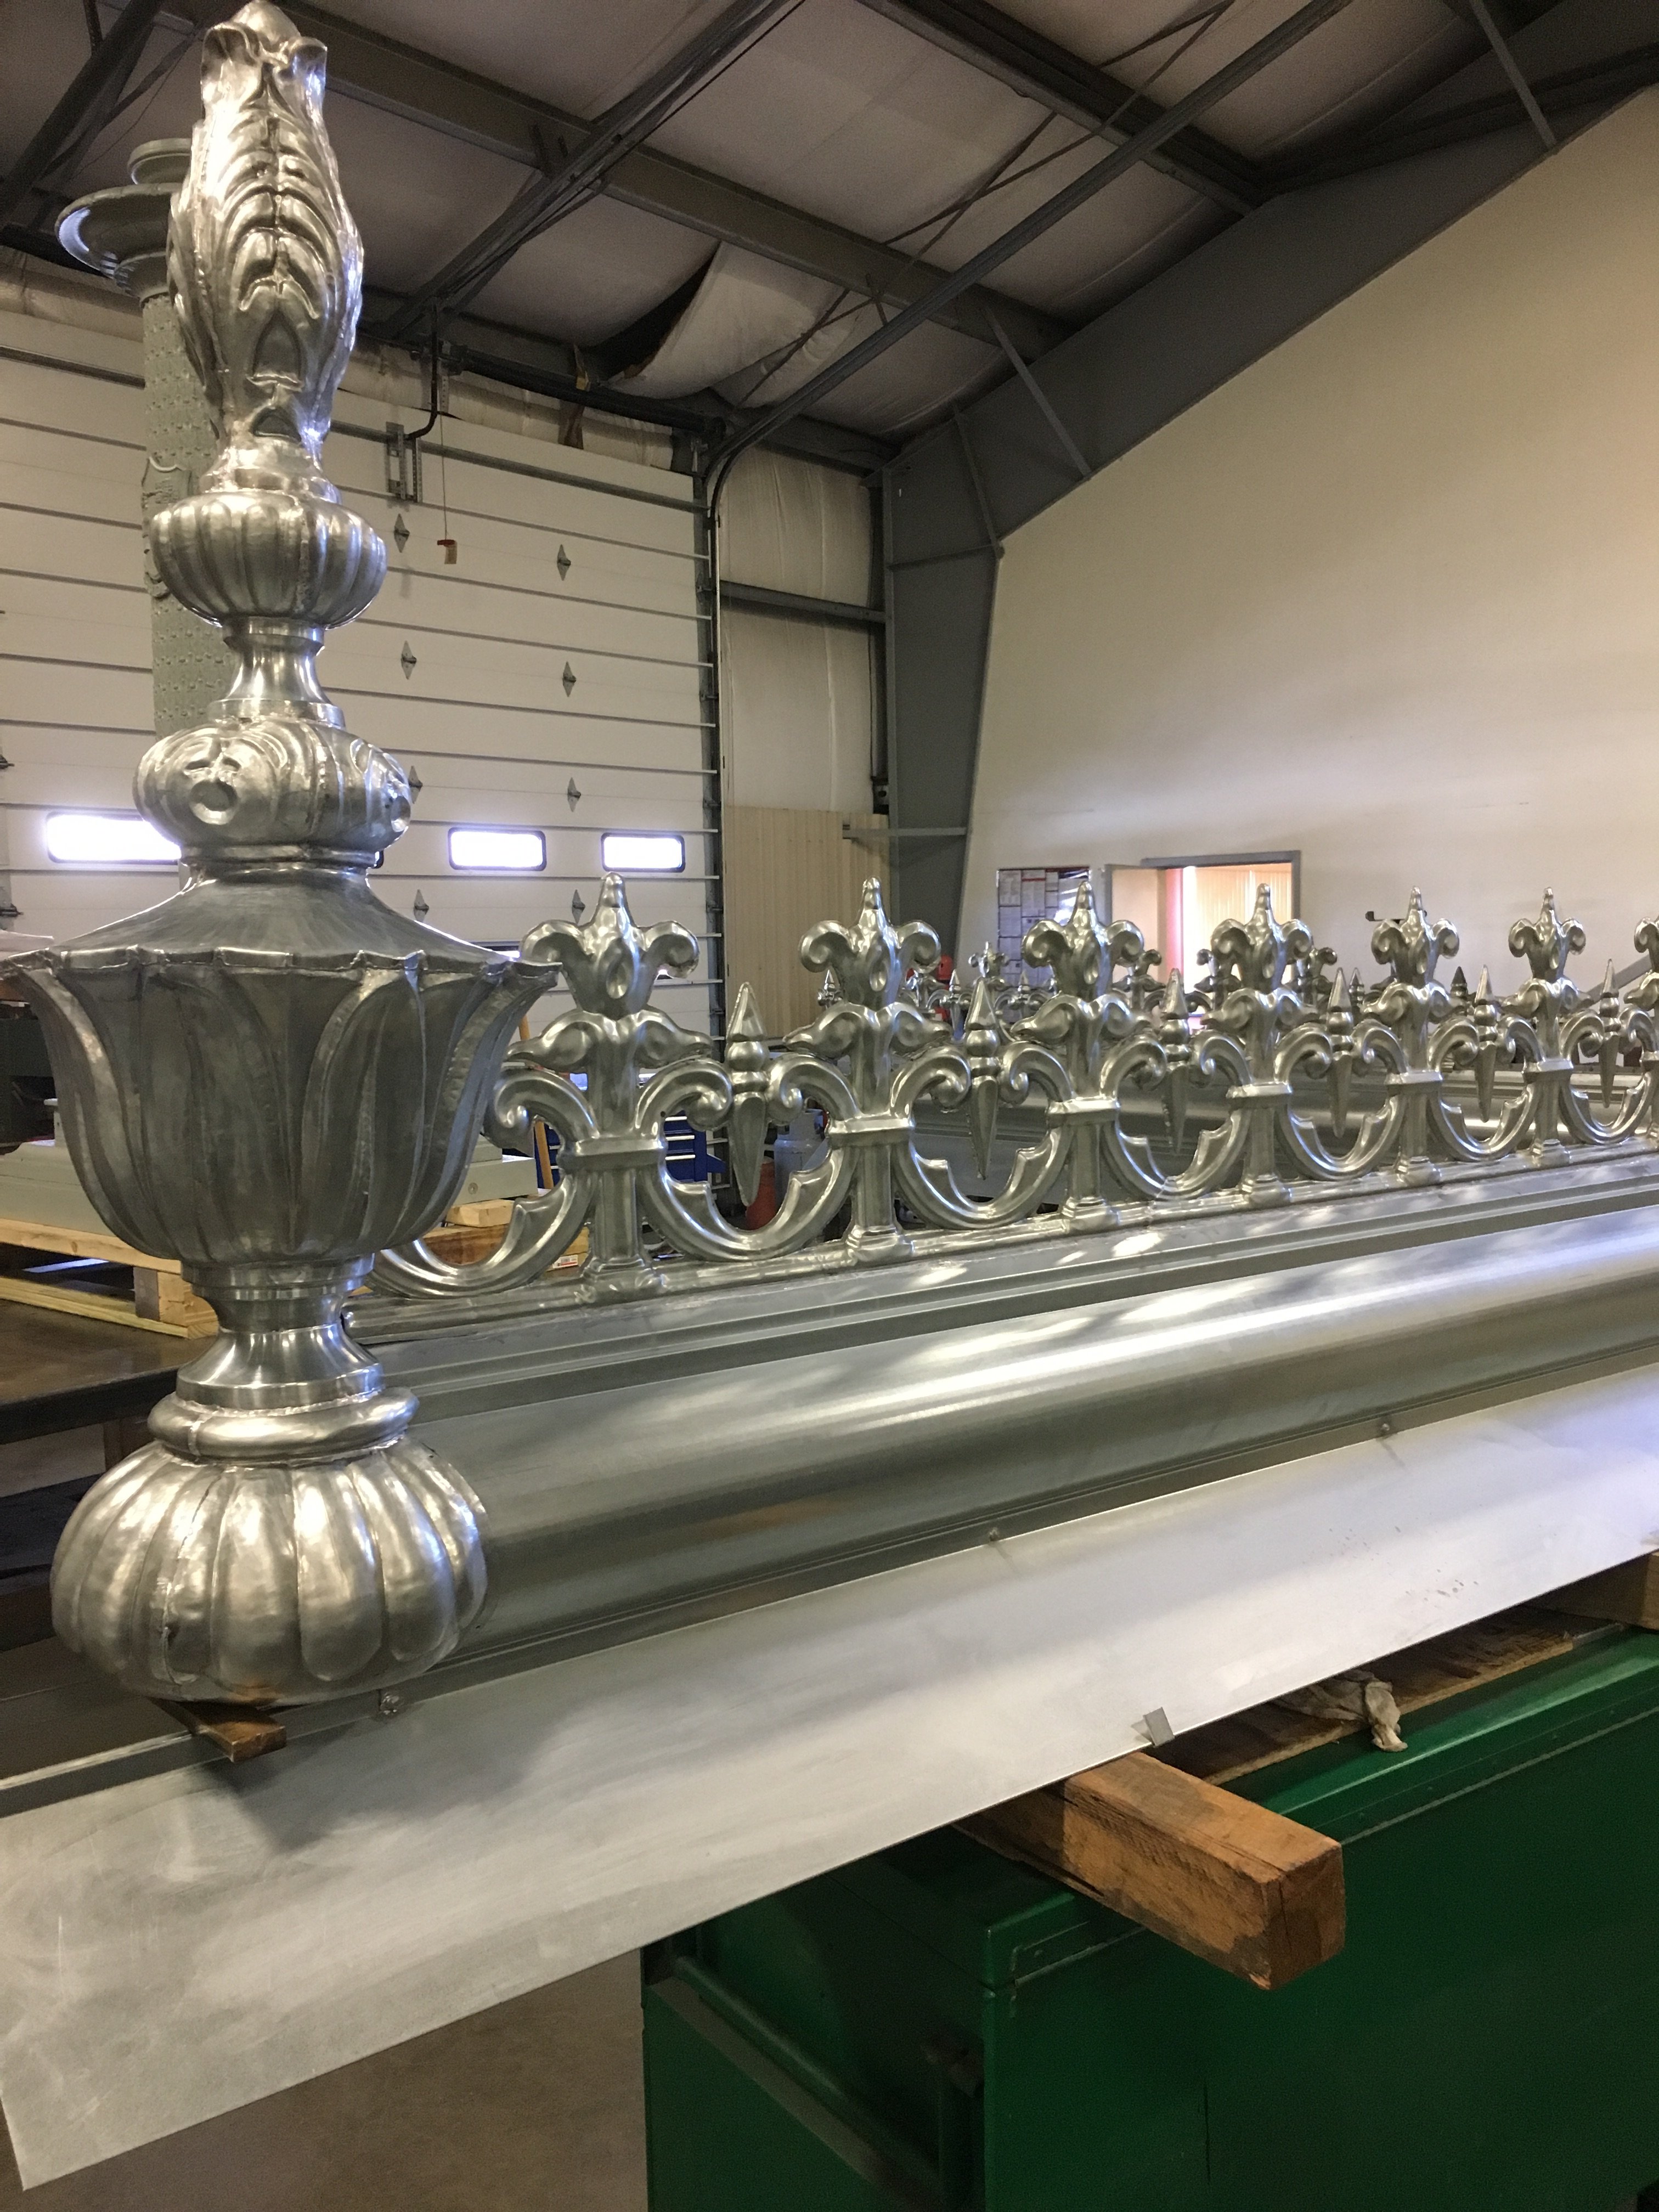
Keicher Metal Arts fabricated two new wrought iron pendants. Unfortunately there were no originals left so the design of the new pendants was based off of the wall sconces.
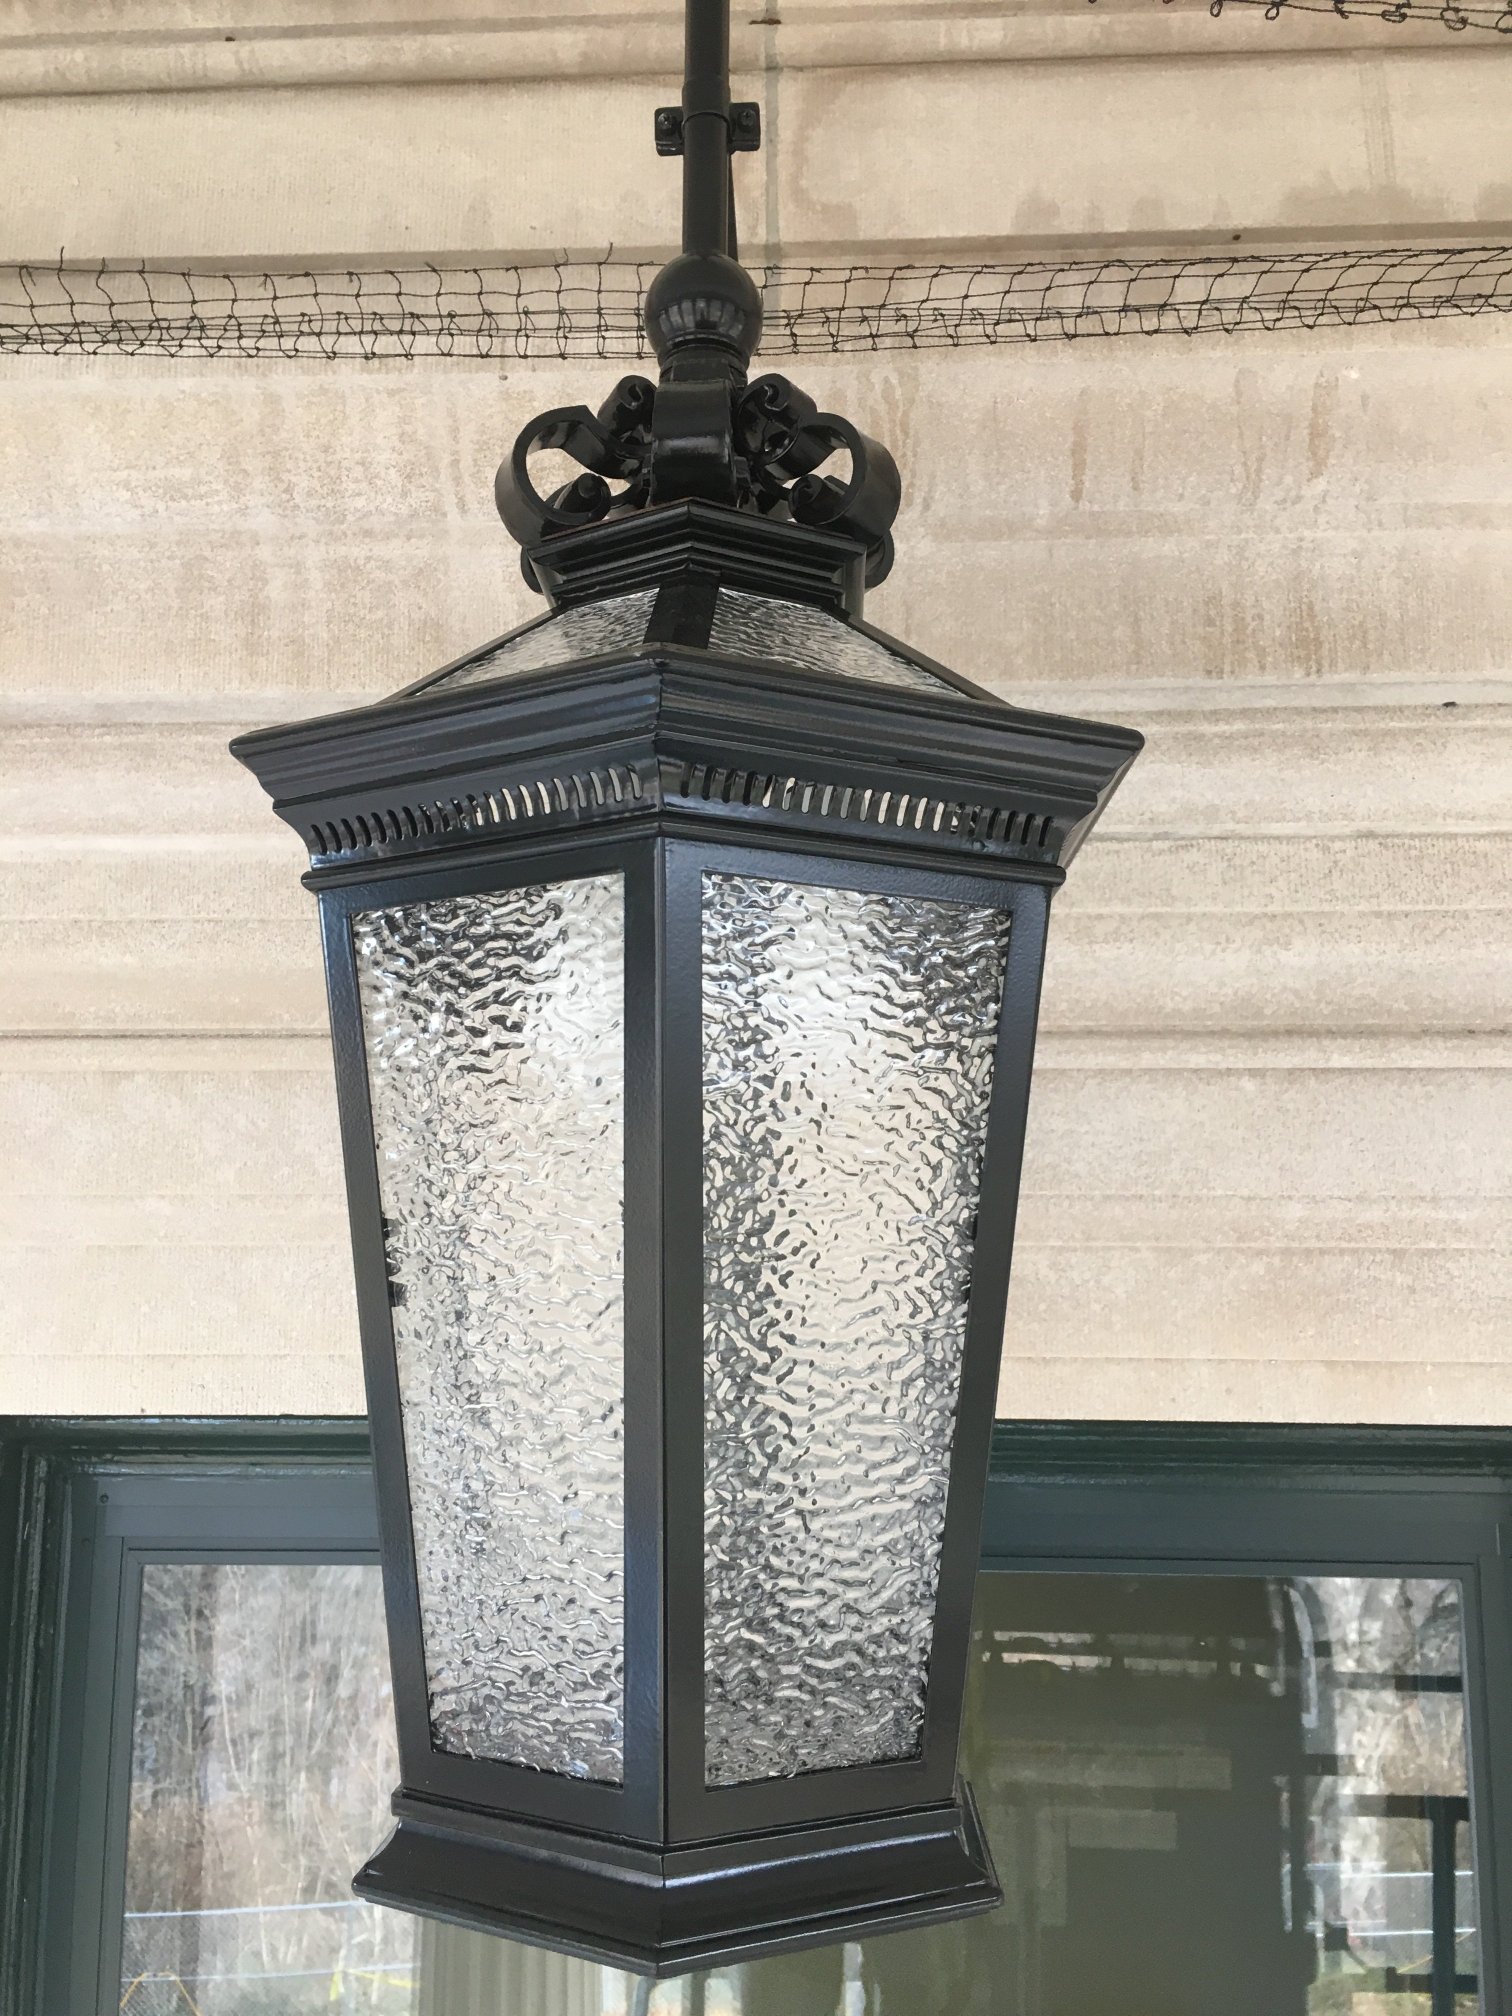
Close-up of a new pendant.